three basketball photos, for photography tips

Ten Minute Tip: Beginners Guide to Indoor Sports Shooting

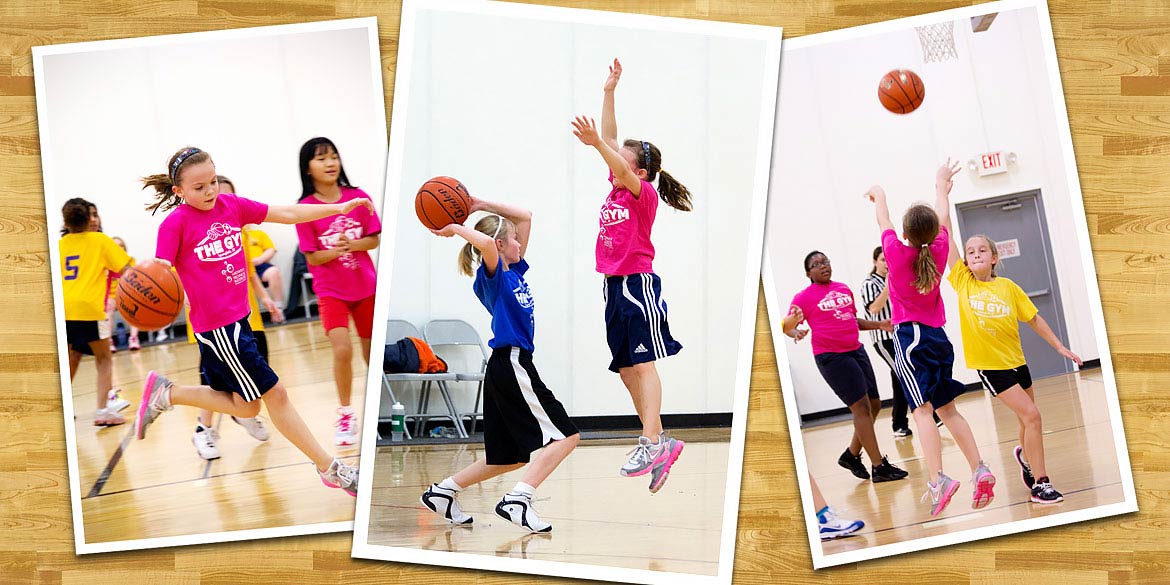
A year ago this month I got my first DSLR; a Canon 60D.  The sole reason for the purchase was to get better pictures of my kids playing basketball.  Like most new DSLR owners I had high expectations, and no clue what I was doing.  Until I learned a few things, my new camera just took higher resolution dark pictures than my old point and shoot.  If this more or less describes your situation, don’t worry.  I’m going to teach you the things that made a world of difference for me.

Matthew Gore | Light And Matter Before and After: Neither of these images were taken with a flash. Both were taken in the same gym, so the lighting didn’t change. The only difference is knowing what settings to use.

A lot of time can be invested in understanding aperture values, shutter speeds, and ISO settings, but if you just got a shiny new DSLR camera because your point and shoot was taking dark or blurry basketball photos, the last thing you want to do is start reading books!  You want better pictures now!  Well, let’s get to it.

The three settings that determine if your photo will be blurry, noisy, or partly out of focus all offset one another.  This means that to maintain a particular brightness level, if you adjust one, you need to adjust one or both of the others to compensate.

Here’s what you need to know to get started:

Shutter Speed

  • Slower (e.g. 1/ 60) = blurry pictures, but brighter
  • Faster (e.g. 1/250) = less blurry, but darker
  • Common Values (brighter to darker):  1/15, 1/30, 1/60, 1/125, 1/250, 1/500, 1/1000, 1/2000
Matthew Gore | Light And Matter Slow Shutter Speed

ISO

  • Higher (e.g. 1600) = noisy pictures, but brighter
  • Lower  (e.g.  200) = less noisy, but darker
  • Common Values (brighter to darker):  3200, 1600, 800, 400, 200, 100
Matthew Gore | Light And Matter High ISO: Notice the noise (grain) when zoomed in (click to enlarge).

Aperture

  • Larger  (e.g. f/1.8) = blurry background, but brighter
  • Smaller (e.g. f/5.6) = clearer background, but darker
  • Common Values (brighter to darker):  2, 2.8, 4, 5.6, 8, 11, 16
Matthew Gore | Light And Matter Wide/Large Aperture, notice the player slightly behind the subject is blurry

Now let’s take a look at a working example.

On a cloudy/overcast day you might take a correctly exposed (not too bright, not too dark) flower picture using:

  • Shutter Speed of 1/125
  • Aperture of 5.6
  • ISO of 200

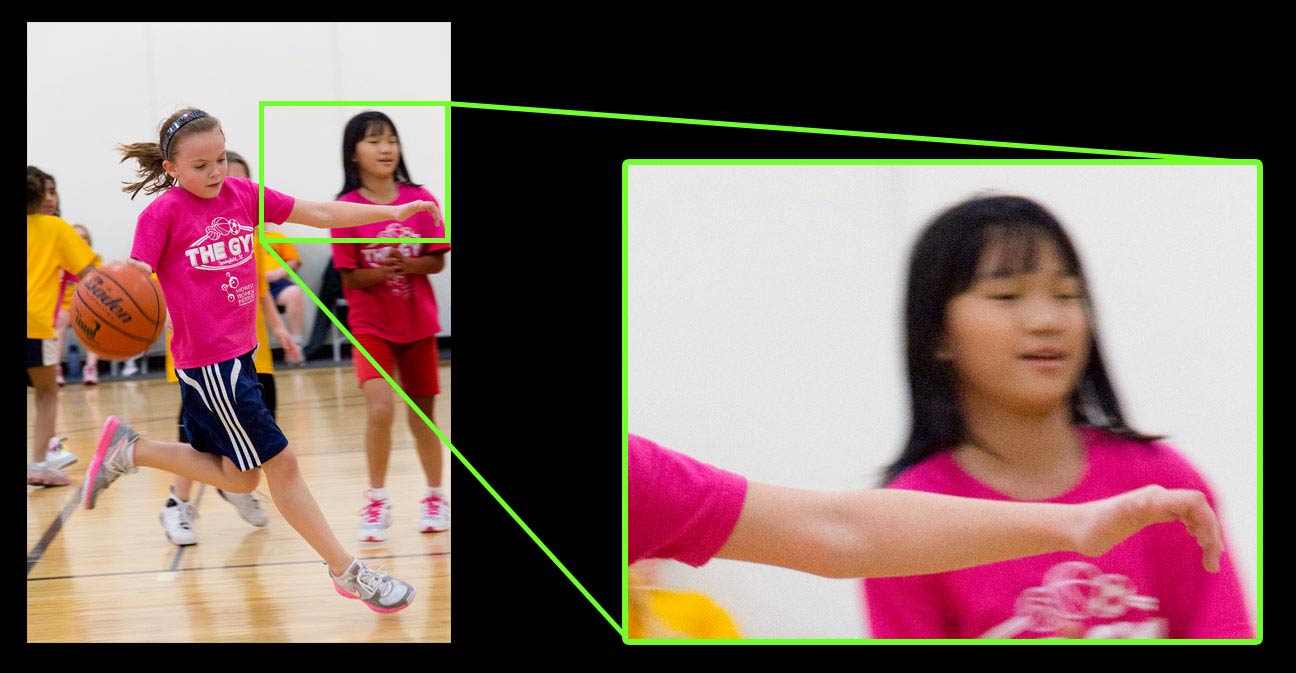
But those same settings won’t work on a fast moving child.  To make sure the child isn’t blurry from running around when you take the picture, you’ll need a faster shutter speed.  A speed of 1/500 should definitely do the trick, but since we’re moving two notches (stops) darker on the Shutter Speed scale (above), we’ll need to move two notches brighter on ISO or aperture (or one stop brighter on each).  That’s all there is to it.  If you adjust one setting, you’ll need to adjust one or both of the others to compensate.  Let’s take a look at a few options for adjusting from a shutter speed of 1/125 to 1/500:

Option 1 – Increase ISO by two stops:  Result = more noise (grain)

  • Shutter Speed of 1/500
  • Aperture of 5.6
  • ISO of 800

Option 2 – Open aperture by two stops:  Result = less area in focus (background appears more blurry)

  • Shutter Speed of 1/500
  • Aperture of 2.8
  • ISO of 200

Option 3 – Increase ISO by one stop and aperture by one stop:  Result = slightly more noise and slightly shallower depth of  field (e.g. how much of the picture is “in focus”)

  • Shutter Speed of 1/500
  • Aperture of 4
  • ISO of 400
Matthew Gore | Light And Matter

In each of the three options above, the shutter speed has increased two stops (from 1/125 to 1/500), and adjustments in ISO, aperture, or both have been made to maintain exposure (brightness).

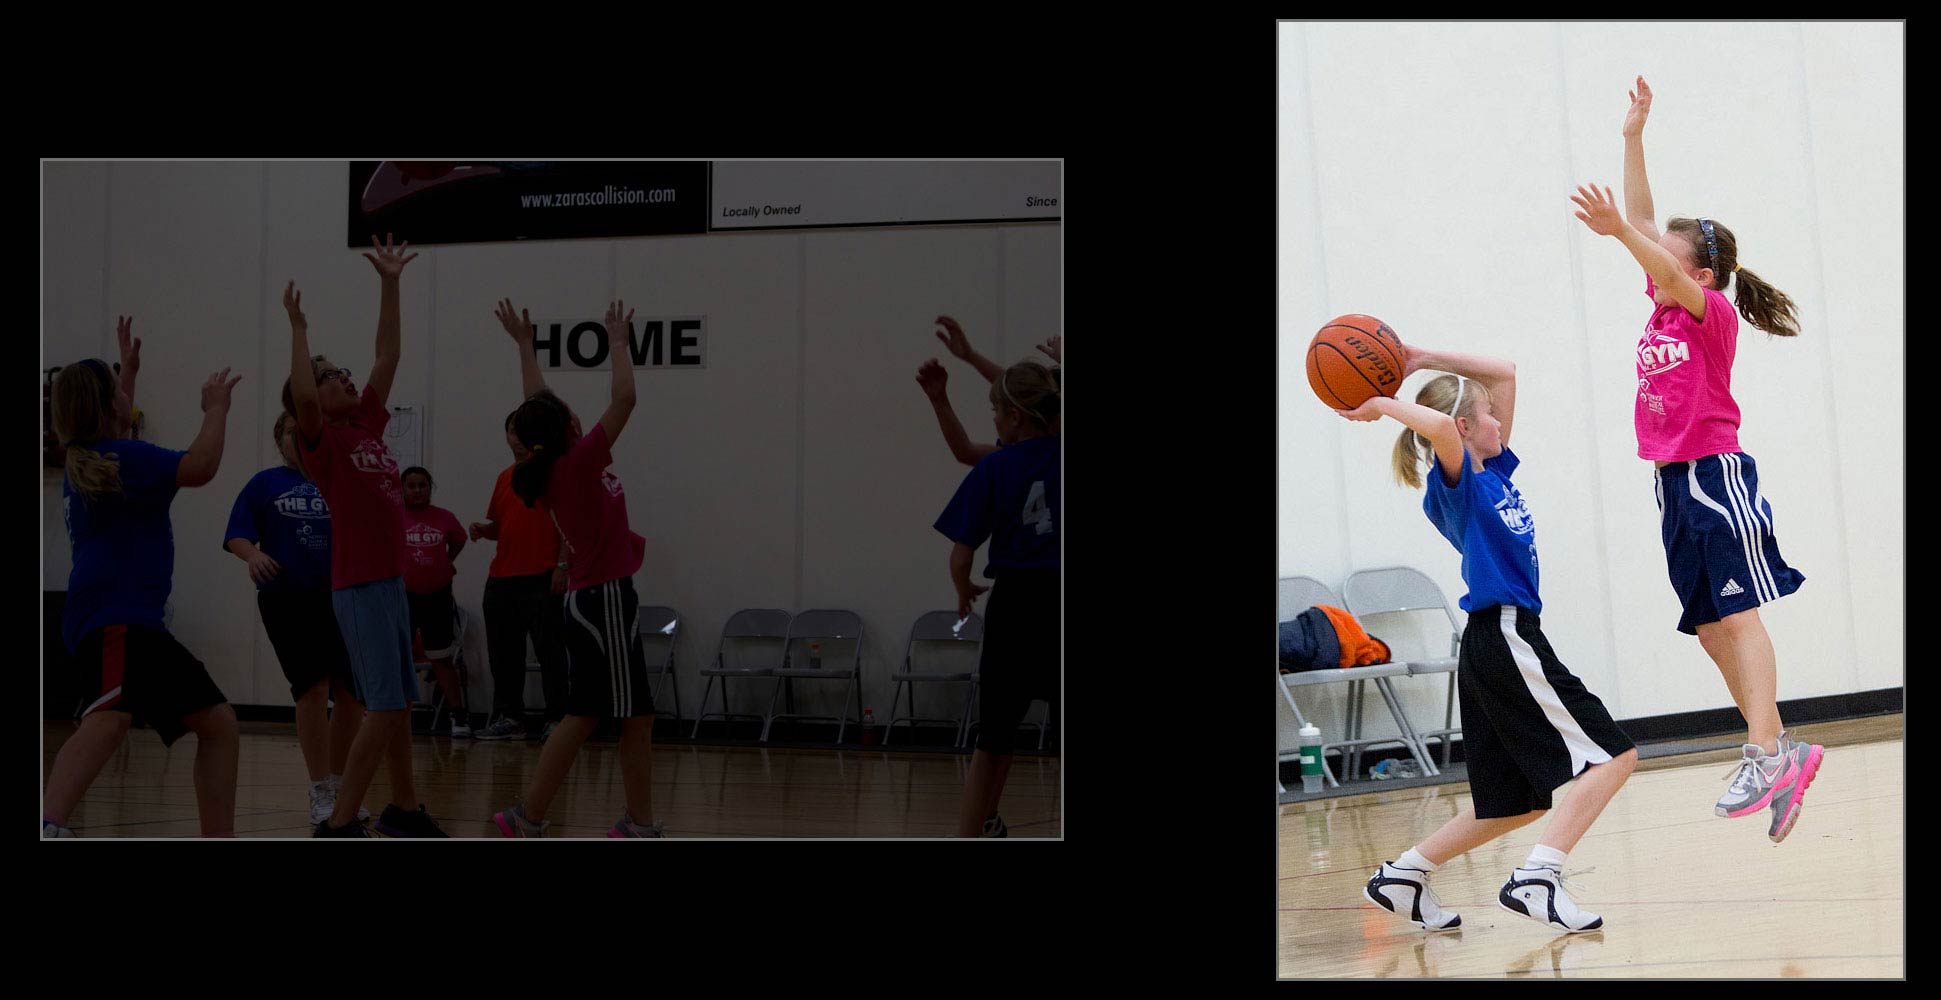
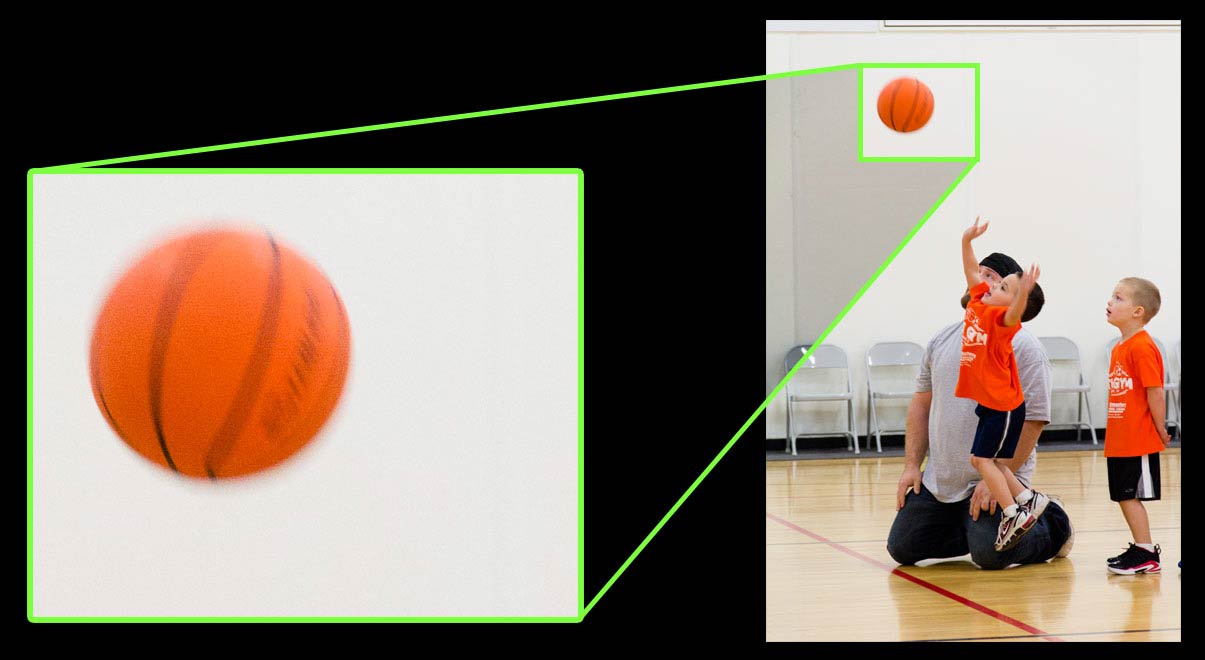
So, in sticking with the basketball theme, the most important one of the three is shutter speed.  It needs to be 1/250 or faster (1/500 or 1/1000, etc.) to stop taking those blurry pictures.  There’s a mode on all DSLR cameras commonly referred to as ‘shutter priority’ mode (‘Tv’ on a Canon, ‘S’ on a Nikon).  The next time you’re in the gym, put your camera in that mode.

With the camera in shutter priority mode, set the shutter speed to 1/250, and take photo of a someone.  In this mode, the camera will have done its best to adjust ISO (assuming ISO is set to ‘Auto’) and aperture to get a nice bright photo.  If the brightness is ok but the players are still blurry, bump the shutter speed up to 1/500.  That should all but guarantee the blurry-ness goes away, but may make your photo dark depending on the lighting in the gym.

If you get photos that are too dark at 1/250 or 1/500 in shutter priority mode, chances are, you have three options:

  1. Don’t zoom in.  Most lenses that come with cameras have a variable maximum apertures, and as you zoom in, they get smaller (darker pictures)
  2. Get a new lens.  As painful as it sounds, especially since you just got that shiny new expensive camera, purchasing a fast lens may be your only option.  By ‘fast lens’ I mean one with an aperture value of f/1.4, f/1.8, f/2.0, or f/2.8
  3. Use a flash.  All of the photos in this article were taken without a flash.  Using one, like the Canon 430 EX II would all but guarantee a nice, bright, blur-free photo.  It may however distract the players, so that’s something to consider.

The purpose of this article is to alleviate some of those beginner, just-bought-my-first-DSLR frustrations.  Once you’ve used this tip to gain some control over how your pictures look, I’d strongly recommend reading Matthew’s articles on The Three Basics of Photography and Photography’s Unifying Theory: The F-Stop.  Both of these relatively short articles will dive further into the basics of photography I’ve touched on.  I highly recommend checking them out.

Subscribe
Notify of
guest

15 Comments
Inline Feedbacks
View all comments
Tanya

Thank you a million times over for this informative article. My husband overspent on a fancy lens for me which I don’t understand how to shoot with it. Great for distance, terrible for indoor basketball or volleyball. Many indoor sports venue will not allow flash photography. Now I understand why my pictures were dark and blurry. Thank you.

Matthew Gore

Hi Tanya,

Glad you found it useful!

Jacques Theriot

Excellent article indeed !!!! I shot my 1st basketball game this week and was totally disappointed in the outcome ….. I shall use these suggestions this weekend for sure!!!

R Rivas

I am finding it hard to select a lens appropriate to taking photos of indoor high school basketball. I have a D700 and while I would love to buy a 70-200 lens I just can’t afford it. Is there something comparable I should be looking for? I have had people recommend Sigma art or a Tamron but I’m still not sure which one would be best. Any suggestions would be great appreciatetly. RIP to Bill Minton he sounded like a wonderful father and husband who loved life.

Matthew Gore

I can’t tell you how much I wish that Bill were still here to answer this question! I still miss him terribly.

There are lots of good lenses for shooting high-school basketball, but it depends on your preferred focal length and style. Some photographers like to stay back a bit and shoot with a telephoto (70-200 anyway), but it’s just as popular for photographers to sit on the ground under the basket with a wide angle zoom and get shots that feel like they’re right inside the action. Either way, using flash equipment is pretty common for basketball photos.

If you want to try the former method, the Tamron 70-200 f/2.8 VC USD is a really excellent lens. I tested it against the Canon L in this video & article, but it is even sharper than the Nikkor. The autofocus is good, too, and it’s not as expensive as the Canon or Nikon, though it’s still not exactly cheap.

It’s also true that the Sigma ART series lenses are amazing. Not too expensive, and at least as good as their Canon/Nikon counterparts. A 24mm f/1.4 lens would be great for low light, under the net… as would the 24-35 f/2 ART series. They might be overkill, though… you could just as easily buy a 24mm f/2.8 or similar and see how it does for you…. with sports, a little extra depth of field can come in handy.

-Matthew

R Rivas

Thank You So Much Matthew!! I appreciate all your advice. You certainly are keeping Bill’s memory alive by responding to these posts. Thank You – :)

Marc

Thanks for sharing those guidelines! A very helpful tips for aspiring photographers and videographers out there.

Matthew Gore

Glad someone is still finding these things helpful :-) Bill would be proud.
– Matthew

Matthew Gore

Hey Bill,

Great article :) As I mentioned to you before, my procedure for the situation would be different. My procedure is:

1. Set the ISO to the highest acceptable level for the job.
2. Set the Aperture to the lowest possible setting.
3. Check what shutter speed its producing. If the’re 1/1000th or above, drop the ISO to a better level. [If the shutter speed is lower, either change to a faster lens, or use flash.]

The advantage to shooting this way is that you will never get an under-exposed photo; there are always longer shutter speeds, and your camera will give you the best shutterspeed it can for the amount of light available. Shooting in Tv, you can easily reach the limits of your aperture and ISO settings.

Also, if you’re in a gym or arena with even lighting (most of them are), you can get the exposure right once, right when you start shooting, or before the game begins, and then set it to manual mode and use that exposure throughout the event. Using auto exposure (unless you’re great with exposure compensation on the fly) mean the possibility of the meter getting tricked by different colored jerseys and skin tones… and if the light is the same, the exposure should be the same, so you might as well make the job easier for your camera and put it in manual, as soon as you’re sure that the exposure is correct for the lighting situation.

Anyway, both methods work…. the difference is that mine puts the emphasis on exposure, yours puts it on shutterspeed.

– Matthew

Roni

Hi Matthew and Bill,

This article was actually published at the exact right time for me. I’m planning on purchasing a 60D camera next month with a main purpose of getting pics of my kid playing indoor basketball. I’m planning on buying a 15-85 lens with the camera and contemplating buying also the 85 f/1.8 lens for the gym shots.
Can you expand, from your experience about the two lenses suitability to this task and also on the method of setting the exposure as stated in your last comment?

Thanks,
Roni

Matthew Gore

Bill explained it well; the 3 stops (8x more light) that you get from the f/1.8 lens is very important for shooting action. You do end up with a very shallow depth of field, but that can sometimes work to your advantage.

Not sure what to add about the methodology. Anything in particular that isn’t clear?

– Matthew