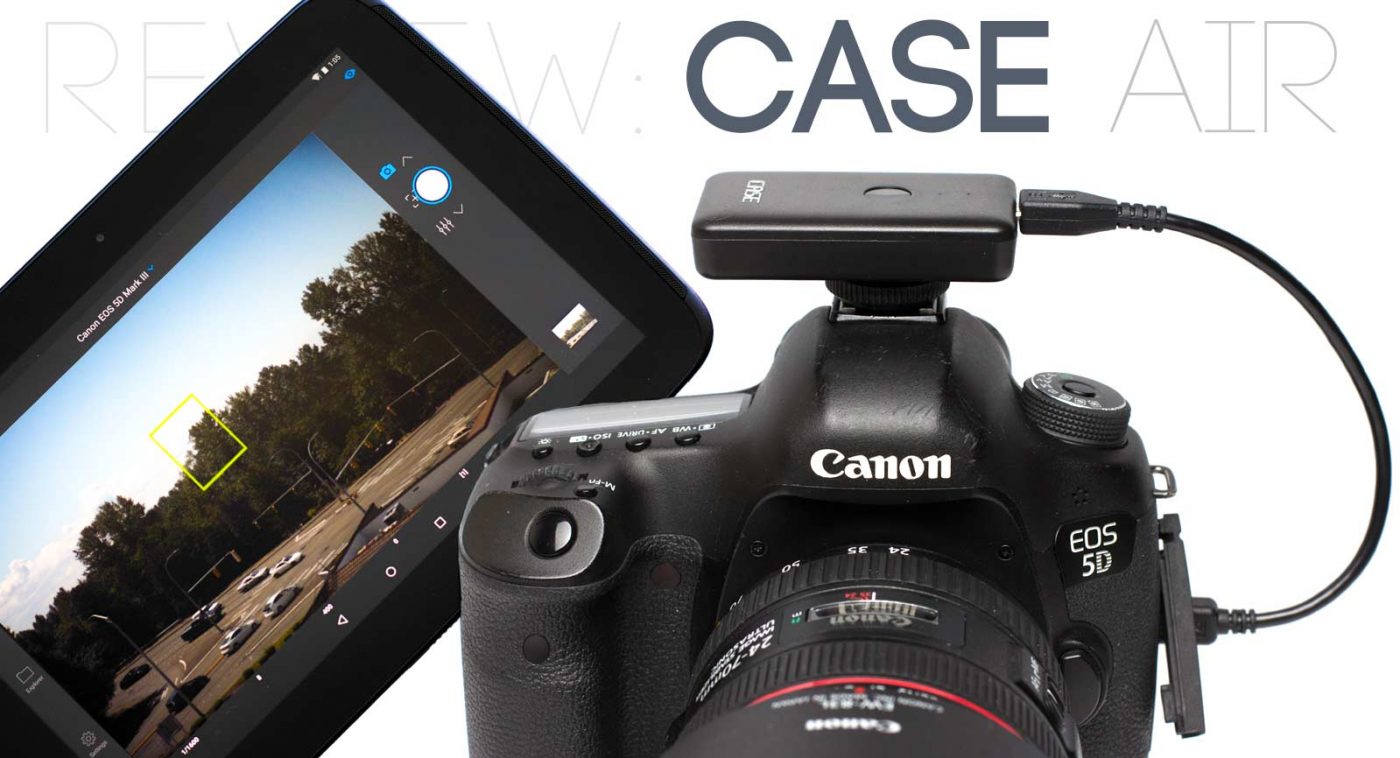
Shooting tethered can be wonderfully useful for many photographers, and wireless tethers can give us even more freedom. Although times are changing, most of our beloved DSLRs from the past several years still don’t have built-in Wi-Fi, and dedicated Wi-Fi modules can be expensive, offer limited functionality, and only work on one camera model. Other options, like the CamRanger, are more flexible but cost hundreds of dollars.
CASE gives us another option. It’s relatively inexpensive, it’s flexible enough to connect most DSLRs with most mobile devices and computers, and it’s smaller than most of my flash triggers. It’s called the CASE Air, and will be available in the near future… they’ve just launched on IndieGoGo.
Cheap, flexible, and compact: sounds too good to be true? I’ve spent the past couple of weeks testing a pre-production unit, and I’ve found a lot to like about it, but it’s not perfect yet.
Easy To Use
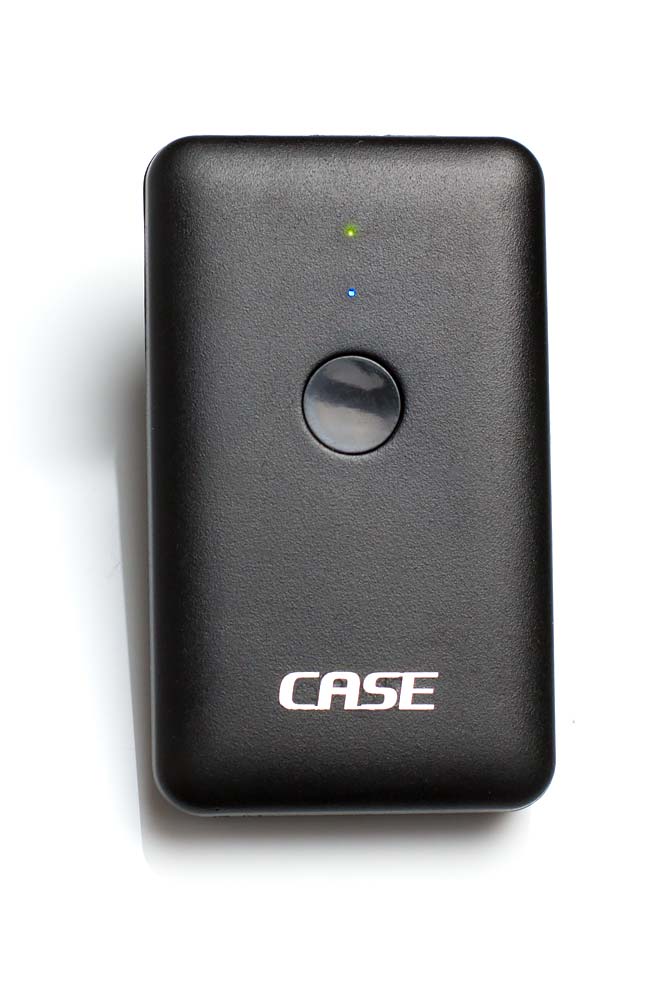
The hardware controls of the CASE Air are simple: it has an ON/OFF button that doubles as a battery check. The battery, incidentally, is a built-in rechargeable unit that can be charged with any standard micro-USB charger or by connecting it to a computer with the supplied charging cable. On your device, you’ll download an app from Google Play or the App Store. If you want control from a computer instead of a mobile device, there are PC or Mac apps available from the CASE website.
To use the device, simply plug in the CASE Air to your camera’s digital port (mini-USB on my Canon and Nikons) using the short USB cables supplied with it, and press and hold the power button to turn it on. When it’s on, a tiny blue LED will show be illuminated, showing that its Wi-Fi connection is active. Also turn on your camera.
Then, connect your phone/tablet/computer to the Wi-Fi network created by the CASE Air, just like you’d connect it to any other Wi-Fi network (it will be called CASE_Rxxxxx, and you’ll find a password on a sticker under the Air). When you then open the CASE App, it will automatically recognize the camera model, and you’re ready to go. Very easy.
What Can It Do?
Once you’re connected to the CASE Air, you can take control of your camera. Clicking on the eye icon starts live view mode, giving you a live feed from your camera that is remarkably responsive, with only minimal lag. You can focus on an object in the live-view monitor simply by touching it, though the focus speed and accuracy will be dependent on the live-view AF system in your camera. There’s a shutter button when you’re ready to take a picture, and in the app settings you can choose whether you want to download specific photos to your viewing device or download all of them.
There are also tabs on the app for shooting time lapse sequences (with an option for an initial delay), HDR sequences, auto-bracketing sequences, and focus stacking sequences.
The basic functionality on Android and PC can be seen in the video below:
Our Rating
In Four CategoriesHardware:
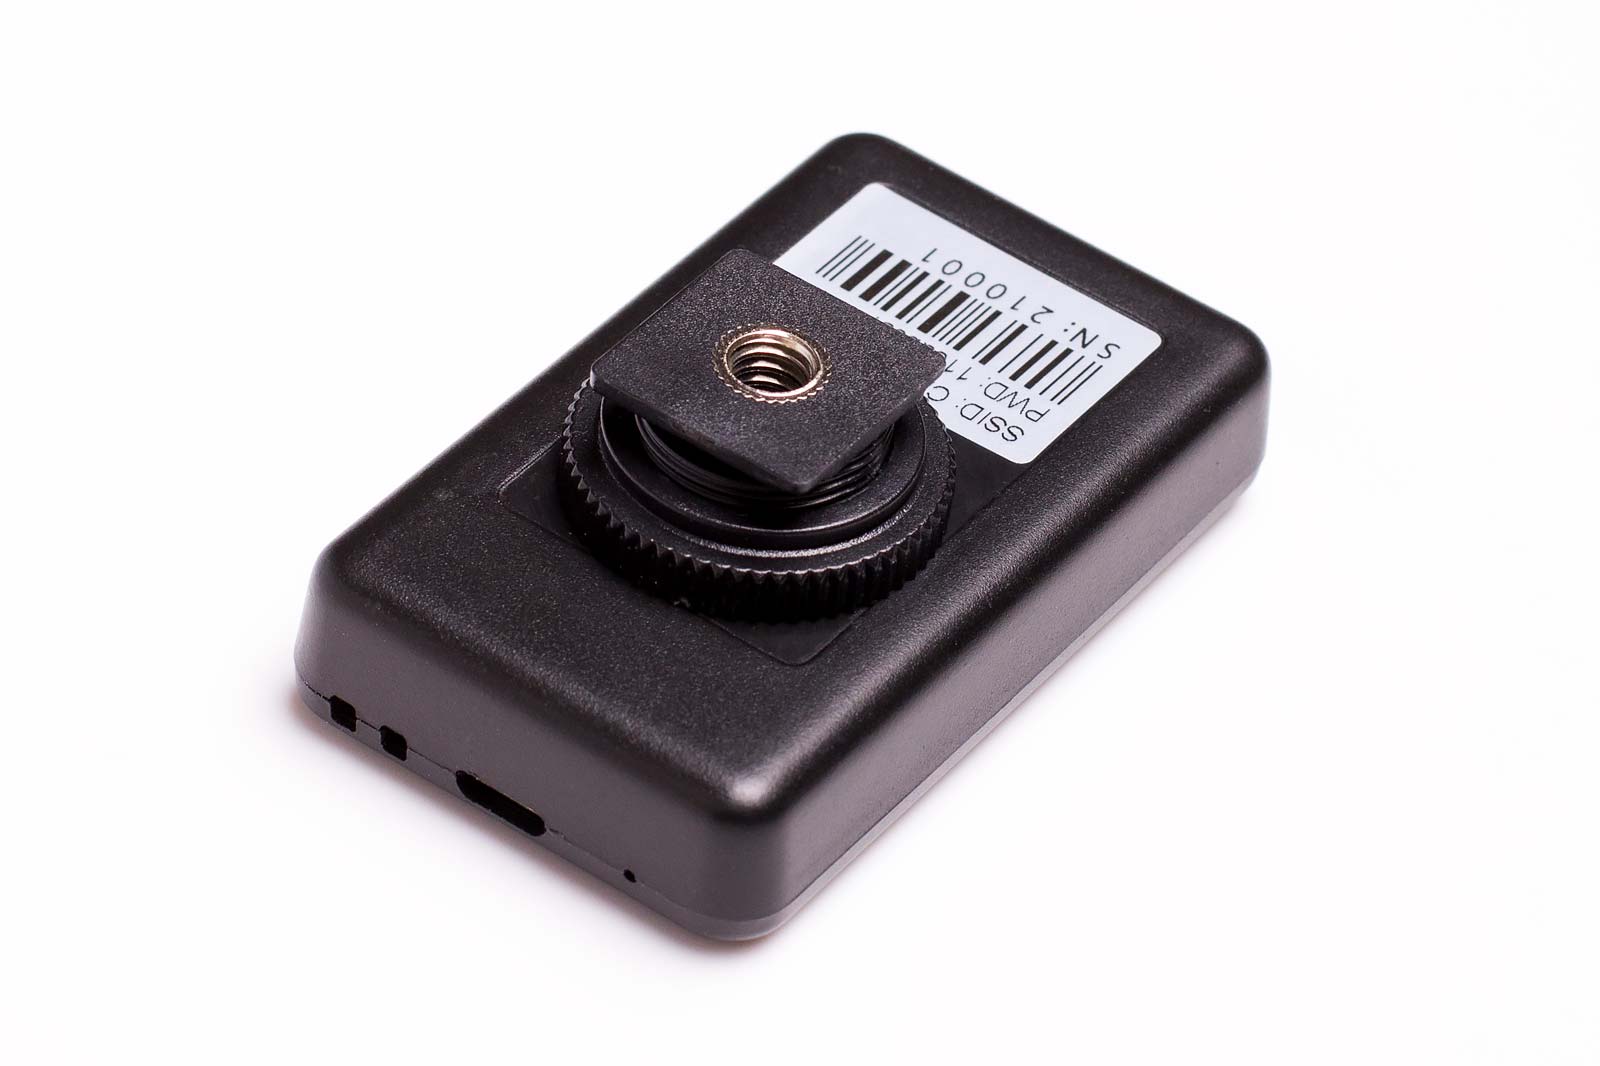
The design of the CASE Air is excellent: simple, compact, lightweight, and sturdy, while remaining very flexible. Because it connects via USB rather than a dedicated plug or mount, you can connect it to all of your Canon and Nikon cameras, and there’s no reason it couldn’t support additional brands in the future. This would be huge for owners of the Fuji X-Pro2, for example.
More importantly, the hardware works reliably. It works on my Canon 5D III, my older Canon 60D, and even my much older Nikon D300. The wi-fi network it creates is strong and reliable, even in the crowded air of my apartment complex. The live-view stream is stable and responsive, with minimal lag, and I haven’t experienced any unexpected dropped connections or transfer failures. It all works.
Because of it’s size, I initially was afraid that the unit would be powered by a couple of small button batteries or some other hard-to-find power source, but luckily, it’s powered by a rechargeable internal lithium-ion battery, a much better design choice. Charging it to full power takes less than an hour, and my tests1 After running it dead while playing with it a couple of times, I set it up to take a time-lapse sequence of the battery indicator light, taking one photo per minute. It was green for the first 20 shots. The next 229 shots were yellow. The final 71 were red, and after the 320ths shot, there wasn’t enough charge to take another. I spent a few minutes setting up my tripod and taking test shots, so it may have been as long as 5 hours 25 minutes. have shown that it lasts for about 5 hours 20 minutes on a charge.
To receive full points in this category, the CASE Air would need to be made of higher quality materials (aluminum or carbon fiber) and would need to be waterproof. Considering the unit’s cost, these are easy sins to forgive.
Score: 9/10

Software:
With this kind of device, the system is only as good as the software that supports it. According to the manufacturer, the iOS app for iPad/iPhone is the best developed and most stable of their options at this time. I chose not to test it. In part, this is because I’m not an Apple user, as a rule2 I do, actually, have a couple of Apple devices available for testing, but I’m less familiar with them than my Windows and Android equipment , but mostly because tethering to a mobile device doesn’t meet my needs as a photographer: I want to be able to shoot and then immediately edit the image in Lightroom or Photoshop. Consequently, my main interest was the Windows version of their software (which I used on my Surface Pro 4 and my desktop workstation).
Here’s how to shoot tethered with Adobe Lightroom:
Both of the software versions that I tested worked well enough to get the job done, but they weren’t perfect. However, I’m working with the earliest versions of these apps, and this is the easiest part of the system to update and fix as well, so by the time these units are on store shelves, the software will likely be much more refined.
As I mentioned in the interface video above, the Android icon layout doesn’t work well when using my devices horizontally: the icons get smushed together and some are hidden. More importantly, the live-view pane becomes stretched and distorted when used vertically on my tablet. In the Windows version, when I click the shutter release button, the camera will start shooting a continuous burst until I stop it3 I’m not exactly sure how I stopped it; in both cases, the behavior took me by surprise and I frantically pressed random buttons on the interface to try to stop it. It may have been pressing the shutter button again. . I’m not sure if that’s a bug or a feature, but it’s not ideal: I’d rather get that behavior from a press-and-hold. This was easily fixed by setting the shooting mode to “single shot”.
That said, shooting tethered from my Surface was smooth and easy, with images automatically downloading and loading into Lightroom. Even full-sized RAW images transferred quickly, though most of my testing was done with smaller JPGs.
Score: 7/10 (provisional)
Support:
When I started testing the CASE Air almost three weeks ago, the I couldn’t get any of the software to work on my devices at all. As I’ve mentioned, this is beta testing, so not everything is polished yet… or even complete. That said, my emails to support were answered immediately, and I was provided with new builds of the software very quickly to fix my problems (and I’ve just re-worked my entire review as a result). My questions were answered promptly in intelligible English.
Now, you might say “Of course they’d respond quickly to someone who’s writing a product review”, and that would seem like a reasonable position, but you’d be surprised at how many reputable companies send out a product and then ignore me completely (I’m looking at you, Sun-Sniper).
All in all, I had a great experience corresponding with Oliver at CASE. They narrowly avoided getting a 10 in support by ignoring my question about future availability for Fuji cameras.
Score: 9/10
Value:
On the “Value” scale, high scores are reserved for great products that are much less expensive than I’d expect, making it the hardest category to conquer. It begins with a comparison of similar products. As already mentioned, the CamRanger offers a similar feature set for DSLRs, and costs about $300. The CamFi is a product similar to the CASE Air and currently available, but it’s larger and bulkier, and the price is about $130. Dedicated wi-fi modules vary dramatically in price, depending on the camera: the Nikon WU-1a/b gives you minimal control (no settings or PC connection) at $40–$50, the Canon WFT-E6A for the EOS 1X costs over $500.
With all of that in mind, the Indiegogo price for the CASE Air is only $79: that’s a steal, considering its quality, features, and flexibility. The actual sale price after the introduction may be higher. I’m guessing that it will be closer to $130 than the listed $199. At $130, the price would still be a good deal. At $199… meh. Not so great.
Score: 8.5/10