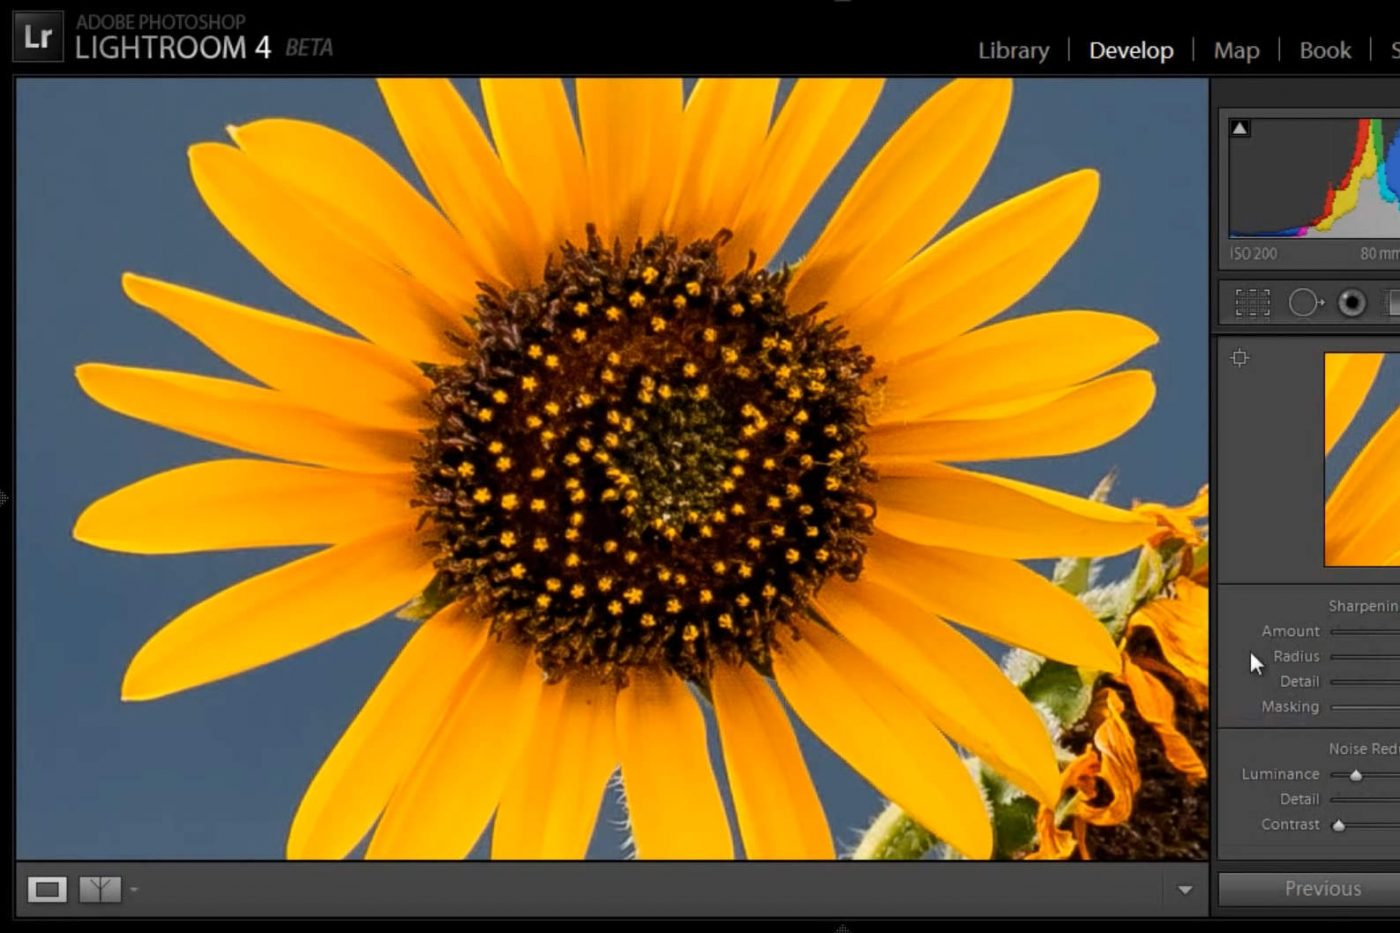
Sharpening in Lightroom 4 and Adobe Camera Raw
It has been three years since I created the original articles and videos about sharpening for Light and Matter, and they were specific to output sharpening in Photoshop (CS4). These days, most photographers start their workflow with either Lightroom or Adobe Camera Raw, and while output sharpening is still important, the initial file sharpening that applies to our full-resolution RAW files is just as important, particularly if we’re going to print. I hope that the following video gives you a solid introduction to sharpening in Lightroom 4 and ACR.
The sharpening procedure described here applies only to the full resolution RAW image, so if you resize the image for export to the web, you may still want to use “Output Sharpening” in Lightroom, or filters like “Smart Sharpen” or “Unsharp Mask” in Photoshop.
Please comment! If you have any questions, I’ll do what I can to answer them below.
