In response to an email question that I received on the topic, I created this video today explaining how to simulate a reverse graduated neutral density filter in Lightroom 4.
This was the bulk of the email message:
I have been searching for an answer to a creative processing question but to no avail; perhaps you might have the answer.
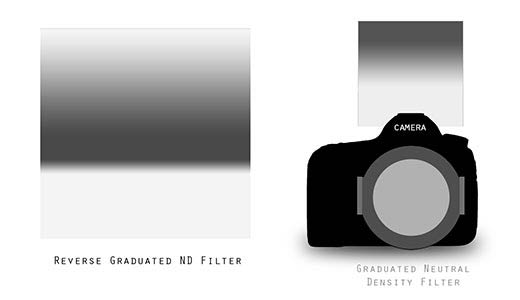
Do you know if it is possible to simulate a split reverse grad ND filter in LR? This would be a useful feature where you have a setting sun in a scene and everything below the horizon is black due to the high contrast. If it is possible to simulate this, it would be lovely to see a video tutorial on this subject. I’ve been wracking my brain to figure out how to do it, but don’t believe it’s possible.
Well, I could hardly pass up a challenge like that, and the good news is that it IS possible, it just takes more than one step. Most people get stuck, I suspect, in trying to figure out how to do this with only one gradient… but it requires two. Once you know that, it’s pretty simple.
Doing the work in Lightroom is infinitely more flexible than using the real thing, but only if you camera can capture all of the dynamic range in a scene to begin with. If not, a set of ND Singh-Ray filters can be purchased at B&H.
