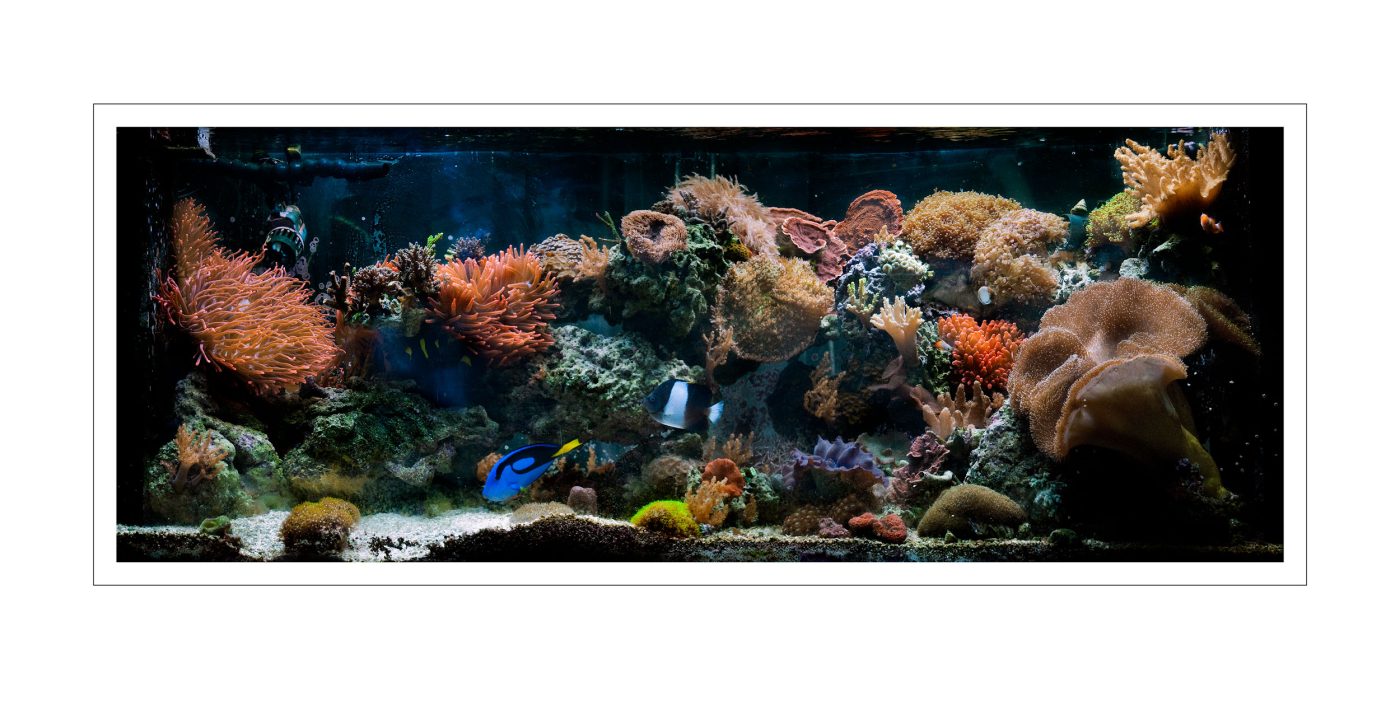
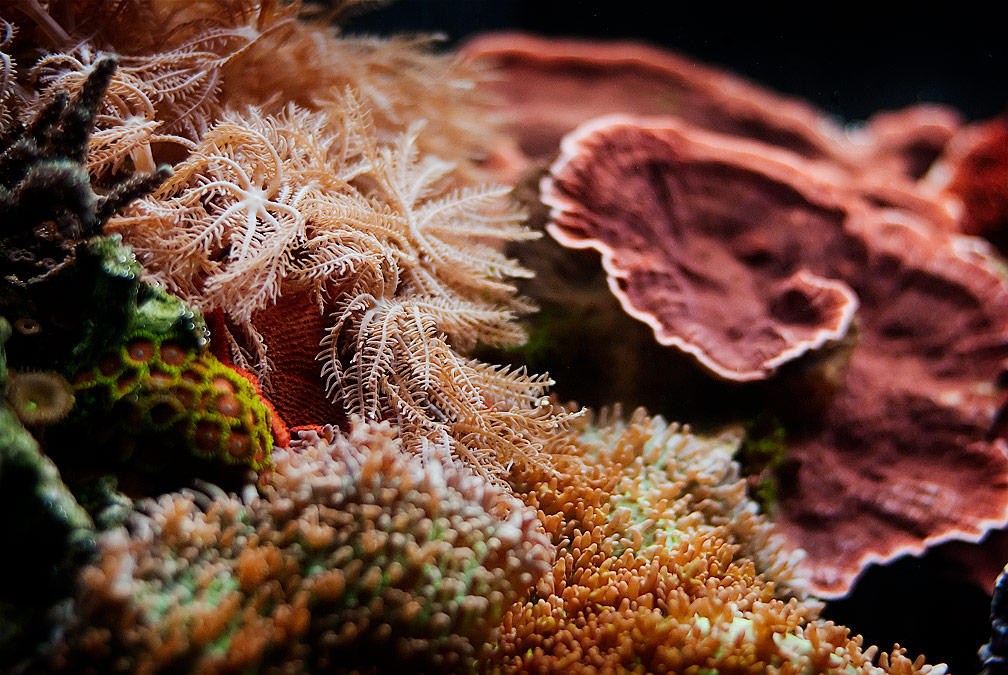
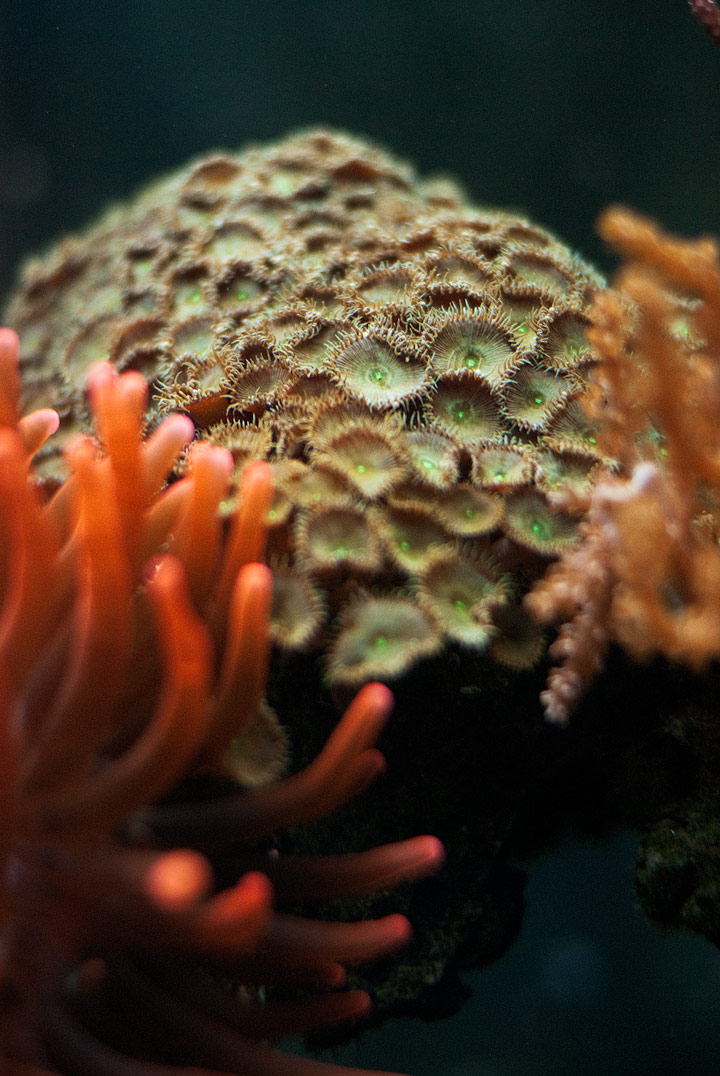
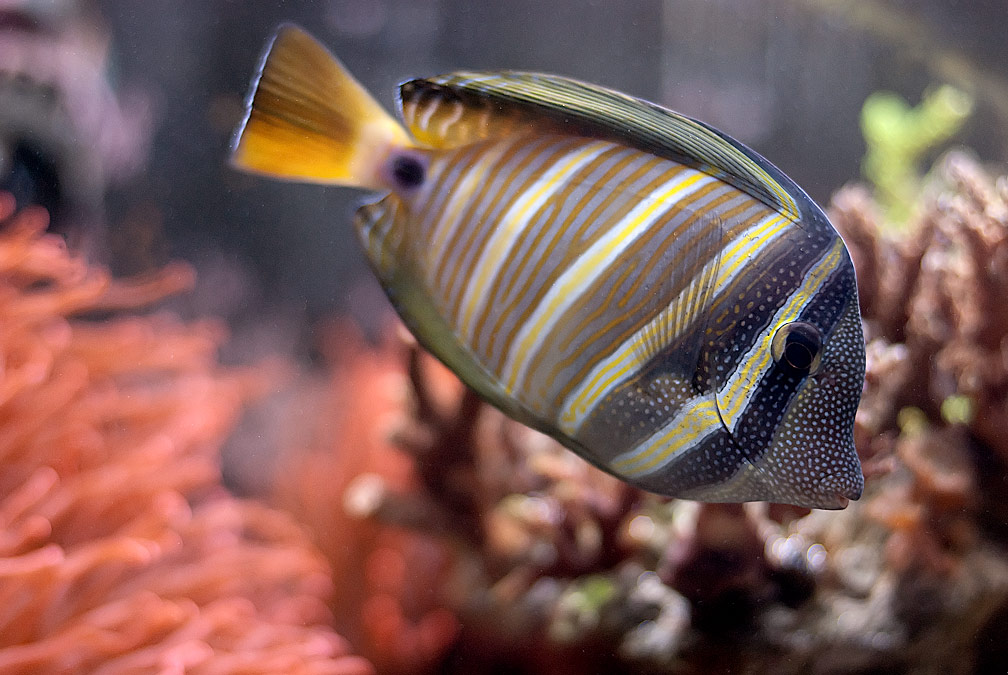
Last week, I had the opportunity to take some photos of a beautiful reef tank down in Kirkland. I’ve taken photos of freshwater fish before; at one point, I had a heavily planted tank with a nice collection of odd-ball fish. I’ve also taken a few snapshots in marine tanks, in addition to quite a bit of macro photography in general, so I didn’t anticipate too many problems.
So, I packed up my macro lens (a Nikon 105mm micro) and a fast 50mm f1.4, and went to start shooting. But I did encounter some problems, and I think that now, several days later, I’m getting a handle on the root causes. If you’re planning on shooting in a reef tank, perhaps you’ll find these tips useful. And if you have some useful insights, please post a reply!
General Tips
These were the general thoughts that I had in mind going into the shoot. Most of them will seem pretty basic, but if you don’t have experience with these tanks, they may help.
1. Set the White Balance : This is especially important if you have to shoot .jpg! There is rarely anything in a reef tank that is color-neutral, so your camera will have a hard time setting a reliable white balance automatically. More importantly, reef tanks (and aquariums in general) frequently use lights that are unusually high in color temperature (such as 10, 14, and 20,000 K), and if your camera is set at standard daylight settings, your photos will come out very blue.
If you happen to know the color temperature of the bulbs (and only one color temperature is being used), you can manually set the color temperature in your camera by number, assuming your camera can be set to 10,000 and higher (mine does not go beyond 10,000). Consult your manual if you don’t know how to do it already.
More reliably, most cameras allow you to use a Pre-set mode to set the color temperature. By this method, you’ll take an exposure off of something that should be neutral, and your camera will use that shot to set the white balance automatically. What I’ve done is this: tape up a piece of white diffusion cloth (or a piece of lightweight printer paper) onto the center of the aquarium glass (on the outside). Turn off the lights in the room so that the only light that is on the paper is coming from the aquarium lights (wait until night if necessary). The cloth/paper should be glowing with the aquarium light. Fill your camera’s frame with that piece of paper (it doesn’t need to be in focus) and take your exposure. Again, check your manual if necessary. One that is done, you should be all set for the rest of the shoot.
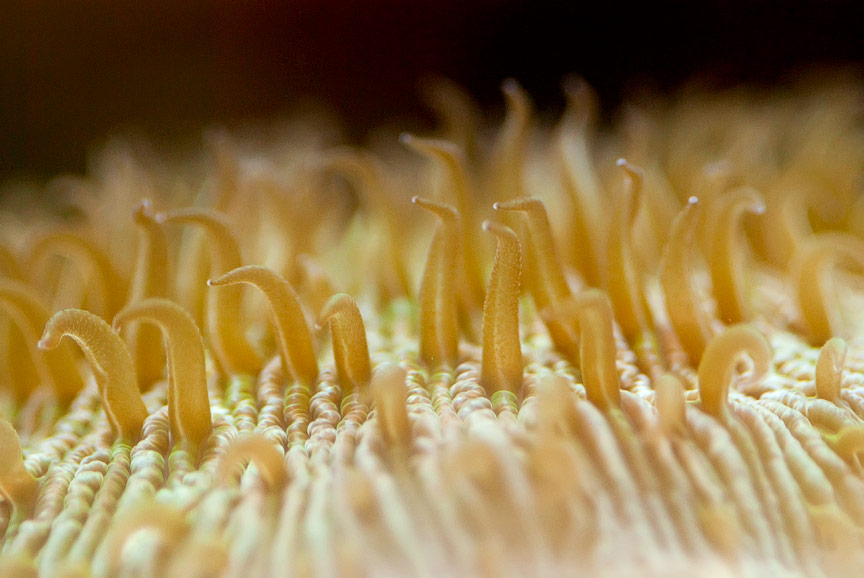
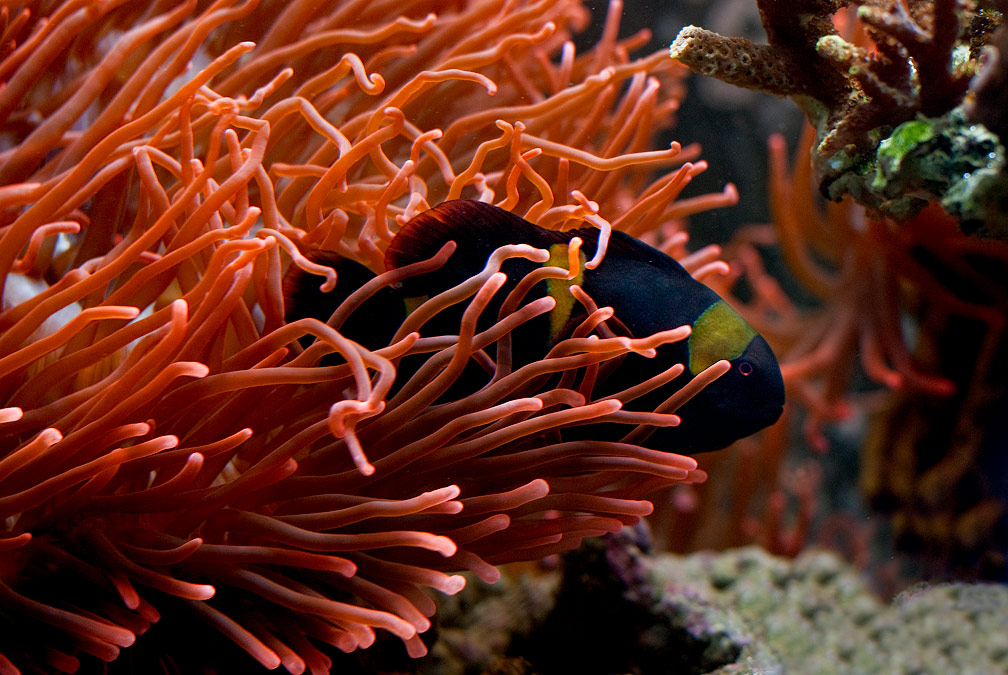
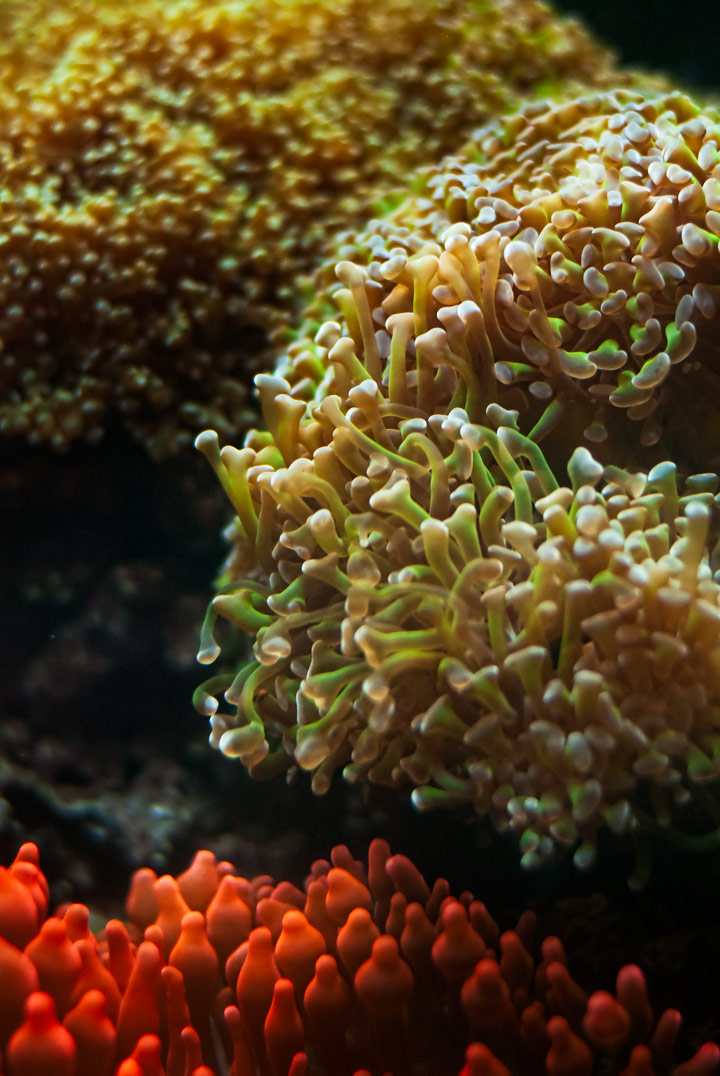
2. One Type of Light: …at a time. If the tank is lit by multiple types of lights (ie, Metal Halide AND fluorescent) turn off all of the lights but one type. This includes FLASH! Fluorescent lights do not penetrate deep water as well as MH, so you’ll end up slightly different colored light from the top of the tank to the bottom. Your eyes probably won’t pick it up, but your camera will. Experiment with different types, though. Some creatures will fluoresce under certain lights and give you more vivid photos.
3. RAW: Shoot in RAW format so that color temperature problems can be fixed later with ease and accuracy. You should be shooting in RAW mode anyway, if you can.
4. Re-Set : If the lighting setup changes while you’re shooting, re-set the white balance. This means that if you change from MH to fluorescent or flash, you must change the white balance (or you’ll pay for it later by manually doing it in Photoshop).
5. Right Angles: Shoot with your lens pointing perpendicular to the plane of the glass to reduce distortion from the glass and water.

6. Reduce Water Movement: Turn off pumps and filters to keep corals from swaying in the current unless you’re going to be using strobes.
7. No On-Camera Flash: On-camera flash will rarely give you satisfactory results in any situation, but it’s especially problematic when you’re shooting through glass. In most cases, the flash will reflect off of the glass.
8. Reduce Glare: Turn off room lights, close curtains and blinds. Shoot with your lens as close to the glass as possible to minimize glare / reflections, or tape up a black cloth to use as a hood, with the top of the cloth attached to the top edge of the tank, and the rest hanging free so that the camera can be held underneath.
Three Approaches to Aquarium Photography
There are three general strategies for getting sharp photos with good colors, each of which has its own set of strengths and weaknesses. These are: shooting with flash only, shooting with high speed equipment with no flash, and shooting with low speed equipment with no flash.
Shooting With Flash
1. Set the camera’s white balance to match your flash’s temperature. Most cameras have a “Flash” white balance setting that will work fine. Turn off the tank lights.
2. Place the flash so that it is shooting down from the top of the tank, or if you have multiple flashes, from the top and sides. The brightest light should be the top light, with others acting only as fill.
3. If your flash and camera are capable of iTTL metering, use it. Otherwise, manually set the exposure and check your photos frequently, since light intensity drops quickly under water and will make dramatic changes in light levels.
The benefit of shooting with flash is that it gives you accurate color and will give you excellent sharpness, since the duration of the flash will become your effective shutter speed, and flash duration is generally between 1/1000th and 1/10,000th of a second. With bright flashes, you can also use a smaller aperture and get greater apparent focus (depth of field) in your photos.
The drawbacks are that your corals will not fluoresce under the light of the flash, so you’ll only be getting typical reflected light. And, of course, not everybody has powerful flash equipment.
Shooting With High Speed Equipment
1. Start with a lens that has a large maximum aperture value, at least f2.8. If available, use f2, f1.4 or faster (smaller number = larger aperture).
2. Set your ISO to the fastest speed that gives you quality results. This may be 400, 800, or with newer cameras, 1600 or faster.
3. Set the camera on Aperture Priority (Av) mode and set the aperture to its widest setting and let the camera choose the shutter speed. This will give you the fastest shutter speeds possible with the available light, and thus, give you the sharpest photos.
4. With sufficiently high speed equipment, you don’t need a tripod. The benefit of this method is that you get pretty good sharpness and you also get the benefit of
specialized lighting on your corals.
The downside is that you’ll get more digital noise from the higher ISO setting (like film grain), and you’ll also get a very shallow depth of field. This means that if you focus on something in the foreground, your background will quickly go out of focus.
In my experience, unless you can reliably shoot at 1/500th sec. or faster, you’ll still get blurry images if you’re shooting extremely close up.
Shooting With Standard Equipment
1. Set your camera on a tripod and use a cable release. Set your ISO to 200 (400 on newer cameras) or slower so that digital noise is not a concern.
2. Make sure that the white balance is set as accurately as possible.
3. Turn on your camera’s auto-bracketing feature. This will provide over and under exposures, which may produce better results or can be combined later with HDR software.
4. Set your camera to aperture priority mode and set the aperfure to f8, f11 or higher.
The benefit of working this way is that you can get good colors, low noise, and strong depth of field, while also getting the benefits of your specialized lighting. The major drawback is that it uses slow shutter speeds, so if there is any movement in the tank, the subject can get blurred. If you’re photographing something that is stationary, this is the best technique, but its no good for fish or invertebrates that move or drift with the current.
In Practice
This was one circumstance in which having the monitor on the back of a digital camera was probably more of a hindrance than a help. I began this shoot by setting up a monolight, shooting down from the top of the tank with a Radiopopper to trigger it. When I started shooting, though, I found that with my 50mm f1.4 lens I was able to get 1/1000th sec. or faster in the top half of the tank under the metal-halide lights, so I set the white balance and started shooting hand held and from a tripod with available light.
After I’d spent about an hour and shot a few hundred photos covering the entire tank, I decided that I’d probably done the job and I called it quits. When I took a look at the photos on my computer screen, though, I found that there was a very low proportion of sharp photos. Photos that had appeared to be sharp on the back of my camera were actually slightly blurry… but blurry enough not to be usable.
My first reaction was that my shutter speeds had dropped down too low and I was getting blur from camera shake, since there was really nothing in the image that was sharp. Then I checked the meta-data, and found that many of them had been shot at between 1/500th and 1/1000th sec, and I started to question the possibility of camera shake. I decided in the end that the problem was probably a combination of 1) a very shallow depth of field with 2) distortion from the angle of the glass and 3) algae on the glass.
Since I wasn’t able to turn off the pumps and blowers, using a tripod and slower shutter speed to get greater depth of field was out of the question for most of the shots that I was looking for. In some cases, I could have stopped down the aperture 2 stops and still been able to stop the motion, but in most cases 1 stop was about it.
So, what would have been the best solution? Probably the best way to go would have been to use the flashes that I had brought with me. I had at least 600WS of power, which would have easily done the job. I took a test shot with only one of the heads firing and had a correct exposure at the bottom of the tank at f16 (ISO200). Needless to say, towards the top of the tank I’d have had to stop down to f22, or further unless I powered down the strobe. This would have provided a tremendous gain in depth of field, and at half power, would have given me much better motion-stopping power.

Another thing that I discovered was that the transmission of the light through the water and glass didn’t just produce overall distortion, it produced chromatic aberration. In many shots, I got pink or green fringing, even in the center of the frame. If you know to look for it, this can be corrected in Adobe Camera Raw without too much trouble.
I hope that this helps you in your next attempt to photograph your reef tank! Good luck, and let me know if you have any tips of your own to share.
