
I use a Nikon D300S or a Nikon D80 for all of my images. My workhorse lens for bird and wildlife photography is the Nikkor 70-300mm f/4.5-5.6 G IF-ED VR. This lens is inexpensive enough for most enthusiasts, and is great lens for subjects that are still or slow moving. Unfortunately, its slow focusing makes any in-flight shots more difficult, and in-flight shots are hard enough to begin with. It works best in the 90-250mm range. I also have the AF-S VR 70-200mm f/2.8 G IF-ED lens which is absolutely spectacular. As much as I love that lens, though, at 200mm it just doesn’t provide the reach that I like for bird photographs. I plan to buy a teleconverter soon and make it my primary lens. I have a Nikon SB-900 flash unit that I am trying my best to learn how to use. My support for the Nikon is a Gitzo 3541XLS tripod with a BH-1 ball head from Kirk. I love my equipment.
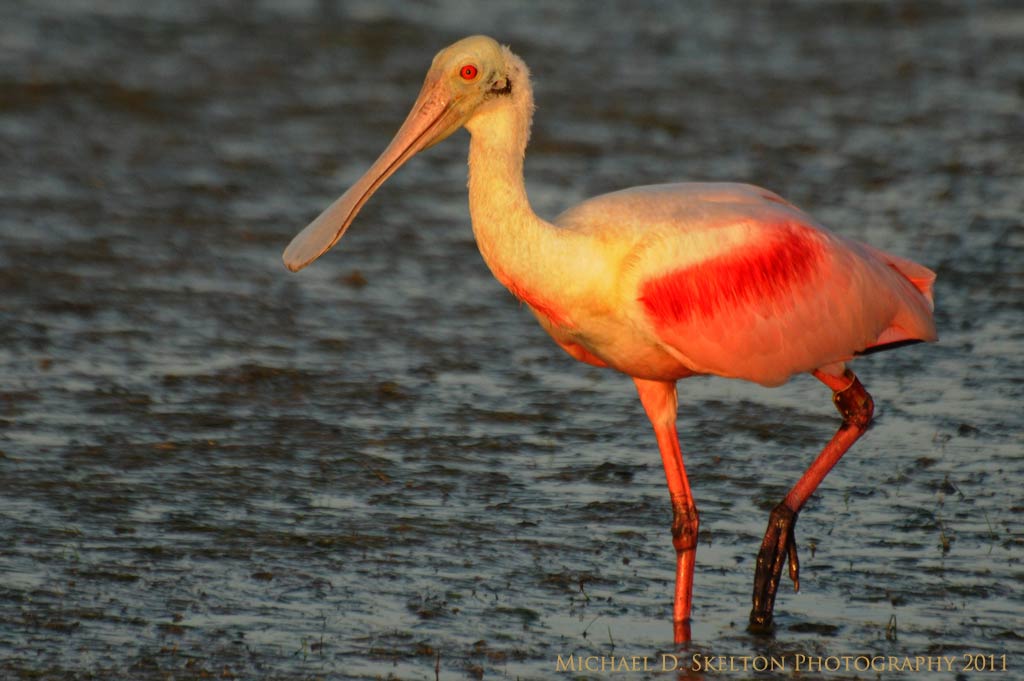
I am lucky to live in Florida and have so much wildlife nearby. The Gulf of Mexico is only a couple miles away, so I start my search for birds near the water. I usually find them hanging out at the local bait shops, where there is plenty of food and places for them to swim, perch and rest. The birds that hang out at a bait shop are probably going to be somewhat used to humans and I use that fact to my advantage: I can get very close.

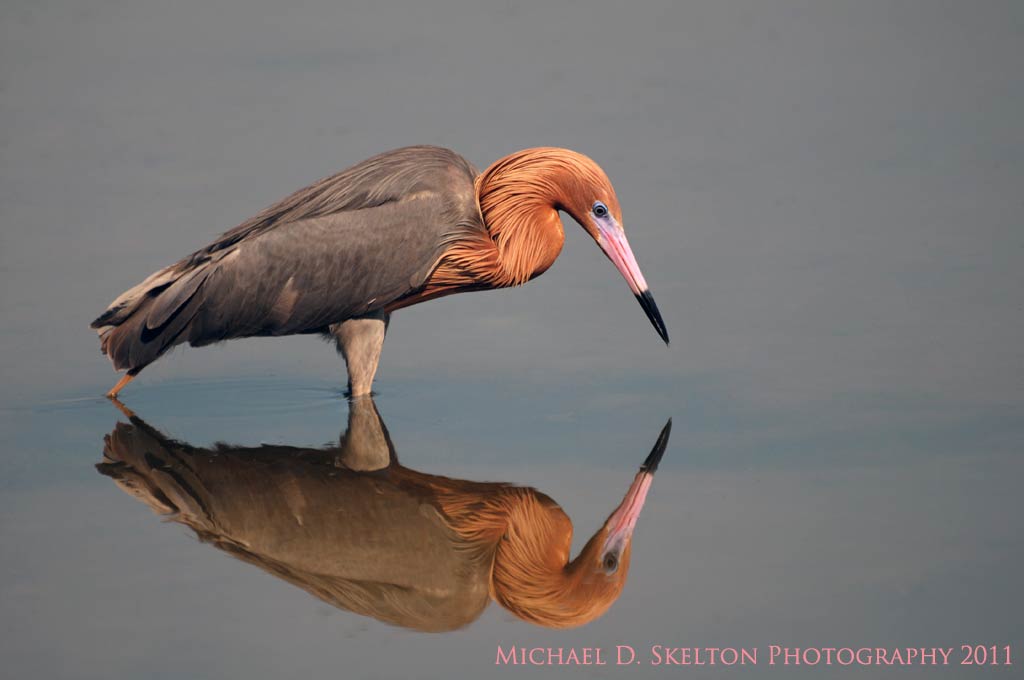
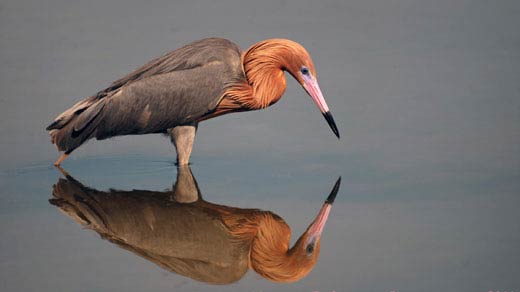
I make it a point to use a tripod religiously. A tripod stabilizes my camera and lens and it makes it easier for me to focus more on my composition and make sure I have the image exposed properly. I would suggest purchasing the best tripod that you can afford and using a cable release when ever possible. These two items will improve your photography by 90 to 100% overnight. I am able to get very close to the birds at the bait shop, and I like to get close. When I set up my shots, I like to try to fill the frame with my subject. The herons and egrets are beautiful birds and you can come up with many different compositions in your images. I try to remember to use the rule of thirds in my compositions but sometimes the shape of the bird itself decides where it should appear in the image. Remember, the choice is always yours. I like to make the bird look as though it is looking into the frame or walking across the frame. It just makes for a more pleasing composition. The birds are usually standing still so I can take my time and compose my shots in this manner.

Many of the birds that I photograph are white, so I need to take care to get the proper exposure and not blow out the details in the white feathers. When I have a white bird that fills the frame, I will use the spot meter for this purpose. The spot meter takes a reading from a small circle in the center of the viewfinder. I try to put the spot on the whitest part of the bird and then set the exposure from there. I will then make any necessary adjustments off of that meter reading. I try to take a whole bunch of images, as many as I can while the bird is there. I tend to forget that I have the spot meter on sometimes so I get a few shots that are under-exposed. It is important to check all of settings each time you go out to use your camera. I use the matrix meter on all shots that aren’t of white birds. In tricky lighting situations, it is helpful use several different exposure settings (ie, bracket your exposure) to insure that you get at least one frame with the correct exposure. Many of my images are not a sharp as I would like, so I take a quite a few shots anyway. I try my best to get the exposure right and get all of the detail in the white feathers and the dark feathers.

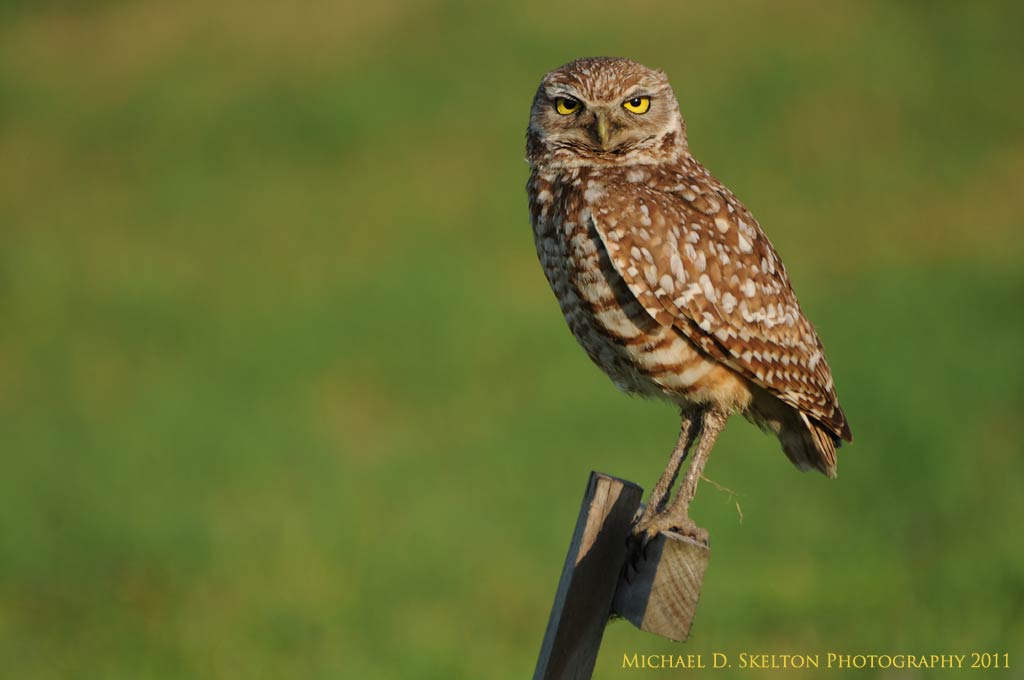
I shoot with the camera set to manual exposure, which gives me complete control over the aperture and shutter speed. I like smooth and uncluttered backgrounds, so I set the lens to its largest aperture and start shooting from there. I will take a few images and then start stopping down (or decreasing the size of the lens opening). I have found that when shooting these birds, I like an aperture setting somewhere between f/8 and f/16. This will help keep all of the bird in focus. I am always looking at the eyes of my subject and I try to keep them in focus. If the bird turns and looks towards me, the bill and the eyes and the tail of the bird will be in focus if I use a smaller aperture. You have to be the judge of this. You have to find a happy mix between how in focus you want your subject vs. how out of focus you want the background.

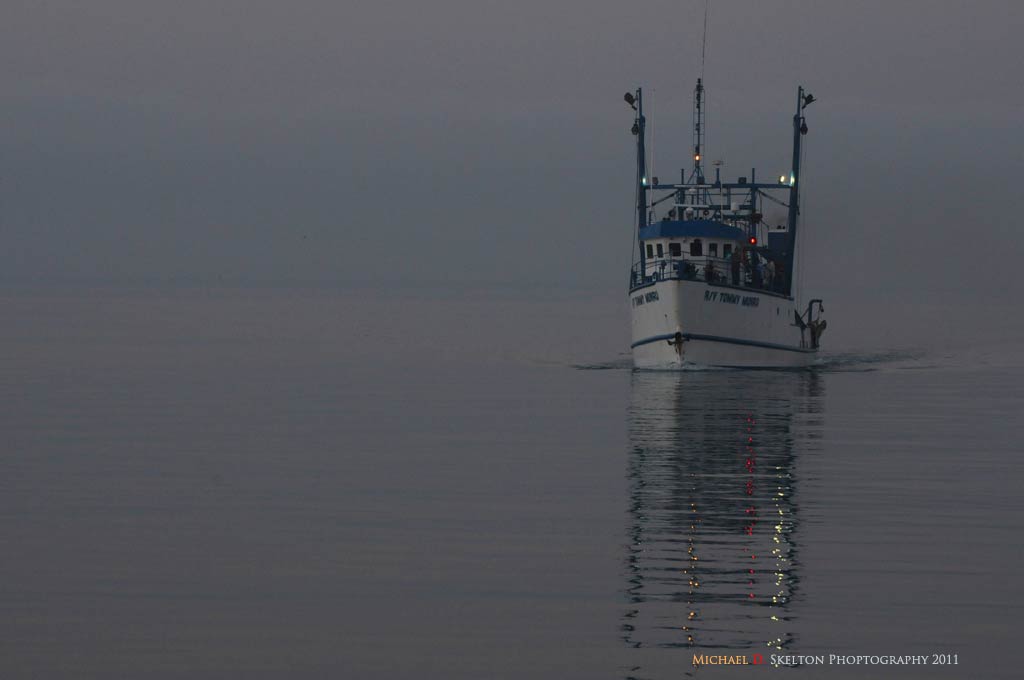
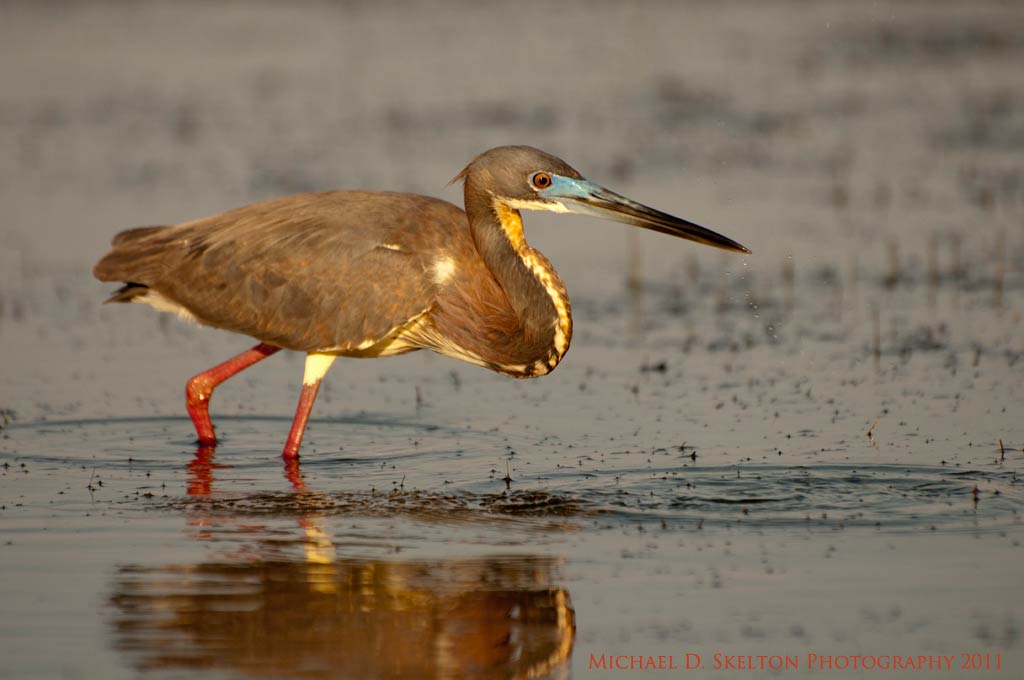
Photography is all about capturing the light and using the light to your advantage, therefore I try to only photograph my subjects in the best light. As you know, the best light is usually available just before and just after sunrise or sunset. It is important to use this time of the day because the best light always creates the best images. I like to set up my shots so that the subject will be illuminated by full or partial front-light. Side lighting creates some very interesting conditions too, but subjects that are back-lit can be very difficult. I like sunny days for most of my shots but overcast or cloudy days can work well too depending upon your subject and as long as you keep the sky out of the image. I can never decide which I like best, sunrise or sunset; both can be spectacular.
All images this page © Michael Skelton, all rights reserved. These images may not be reproduced, copied, altered, or distributed, in whole or in part, without written permission by the photographer or purchase of a license, where applicable.
