The Loupedeck CT is a USB-attached controller for photo and video editing, and for the past three months, I’ve been testing one out, doing my best to get familiar with it and use it enough to give it a meaningful review1The unit that I tested was sent to me, free of charge, by Loupedeck, on the condition that I would give it an honest, unbiased review. They didn’t pay me, and I won’t get any compensation for a positive review, though nearly all of the links on this site are affiliate links to support this type of work.. I’ve found that there are some things that I really like about it, along with some annoyances and design concerns. The Loupedeck CT probably isn’t for everyone, but some of you will undoubtedly find it a solid addition to your workflow. Who is it for? Watch the video above for full details.
What is the Loupedeck CT?
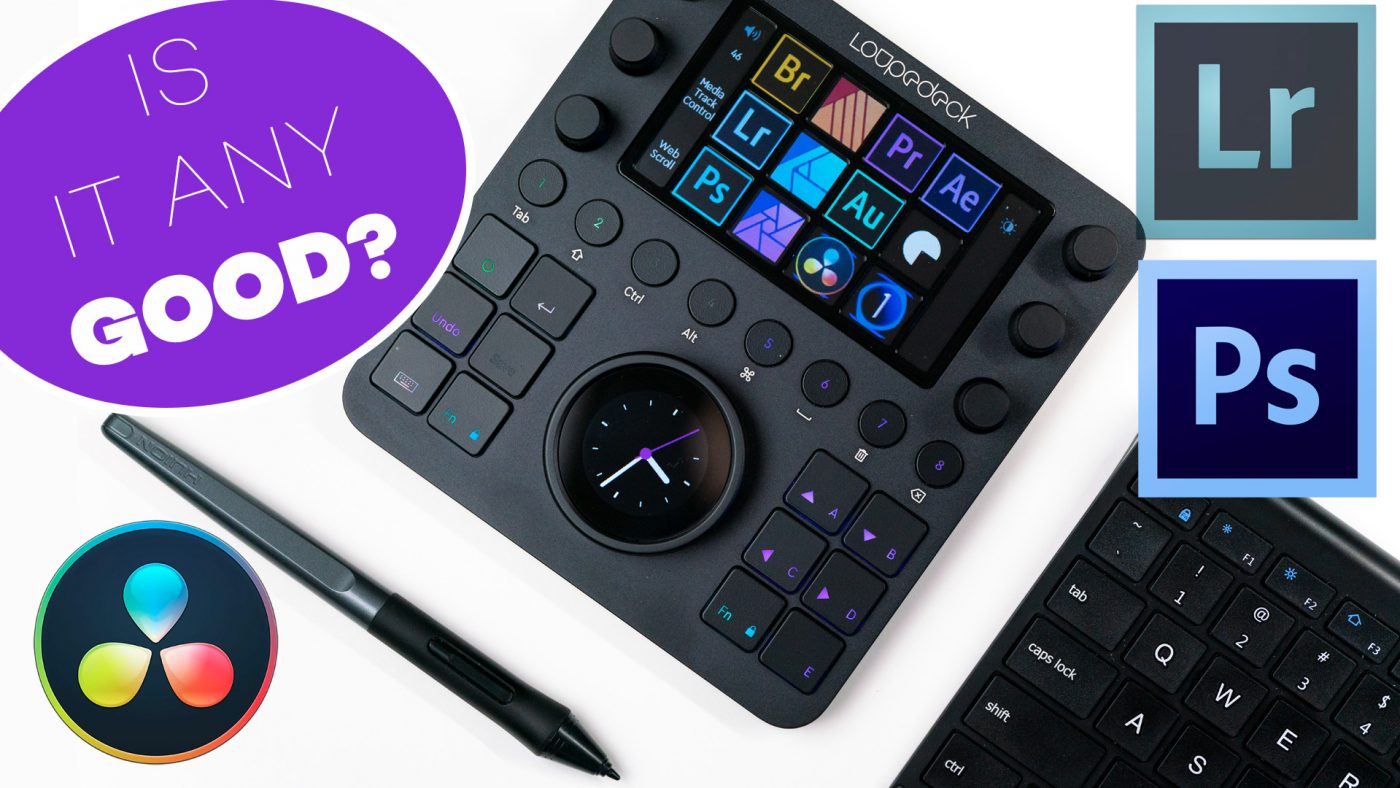
The Loupedeck CT is a control surface for editing programs that connects to your Mac or PC via a USB type-C connection (and it looks as though Bluetooth may be a possibility in the future), and costs about $550 at B&H and Amazon. The top of the device is dominated by a touch screen that is divided into twelve touch buttons, with space on either side that can act as swipe bars and labels for the six knobs that border the screen. Below the screen are eight numbered round buttons and twelve more square buttons, and finally large main control dial that contains another touch screen.

Each of these buttons, knobs and dials can be customized to select tools or perform functions in editing software. The Loupedeck has native support via API for a variety of popular software, including Adobe Lightroom, Photoshop, Illustrator and Premier, Capture One, and Ableton, among others, but you can also create custom profiles (some are available for download from Loupedeck’s site) for hundred of other programs such as DaVinci Resolve, Affinity Photo, or Audacity. The “custom profiles” allow you to assign the keyboard shortcuts from these various programs to the knobs, wheels and buttons of the Loupedeck to acheive API-like functionality. It works remarkably well.
In general, the Loupedeck CT software auto-detects which program you’re using and switches to that program’s settings, with no customization required in the editing program. The exception to the rule is Photoshop, which has a dedicated plug-in (available for free on the Creative Cloud) which must be installed along with the current Loupedeck drivers.
Additionally, when you plug in the Loupedeck, your Windows machine will auto-detect a small storage drive that is embedded in the Loupedeck as well. This 8GB drive is perfect for storing any custom profiles or even device drivers that you might need while switching the Loupedeck between computers. Clever.
The Good Stuff
I was happy to find that installing the Loupedeck was a pretty quick and painless process on my workstation, though you may need to permit access through firewalls or VPN clients, since your computer connects to the Loupedeck as a network device (even though it uses a USB cable). The Loupedeck CT software already has default profiles installed for Lightroom, Photoshop, Capture One, Premier, and variety of other popular software, though you can customize them or create your own as soon as you’re ready.
This means that as soon as you plug in the Loupedeck and install the Loupedeck App, you can start using the the Loupedeck to edit your images in programs like Lightroom.
And doing that is intuitive, quick and really pretty fun. Turning real, physical knobs is a nice change from clicking on little software sliders, and the zoom dial and dedicated “Undo” button are pretty handy, too.
RAW Editing & Photoshop
Editing RAW files in programs like Adobe Camera RAW, Lightroom, and Capture One is probably where the Loupedeck is most helpful when it comes to photo editing. With the Loupedeck open, you have immediate control of the parametric adjustments for each image at your fingertips, making the editing process quick and intuitive. As you may have seen in the video, switching between pages of settings is as easy as swiping up on the touch-screen side bars.
Whether you’re editing RAW or in Photoshop, having access to the main dial for zooming in and out is handy (though not a game changer, since that’s already quick with keyboard shortcuts).
In Photoshop more generally, the three left knobs can be used to quickly adjust the brush size, opacity, and hardness, and since these are very common function, many people might enjoy having them on dedicated controls. It can also be handy to have quick access to all of the tools (brush, selection tools, spot healing, clone, etc), and to be able to create adjustment layers at the touch of a button as well.
However, all of these things can be done just as easily with keyboard shortcuts. I can select the “brush” tool by pressing “B” on my keyboard, adjust the size by pressing the “[” or “]” keys, and change the opacity by pressing one of the number keys (e.g., press “5” to set the brush to 50% opacity). So, while this functionality is handy for new users to Photoshop, it’s not such an important workflow booster for those of us who have been using keyboard shortcuts for 20 years.
There’s an interesting color-workspace page in the Loupedeck Photoshop profile which looks like it might be very helpful for digital artists who use Photoshop to draw or paint, but as a Photographer, I haven’t found a use for it yet.
Video Editing
For me, the Loupedeck CT has been most helpful for editing video, in large part because I have less experience with video editing software and the keyboard shortcuts that would otherwise help speed things up. However, even if I were as fluent in DaVinci Resolve as I am in Photoshop, the Loupedeck’s control wheel and dedicated dial to quickly zoom in and out on the timeline are immensely helpful. I find that I always prefer to use the “razor” touch button on the Loupedeck, now, rather than selecting the tool in Resolve, and the tactile controls in general speed up my video work dramatically.
The Bad Stuff
Design
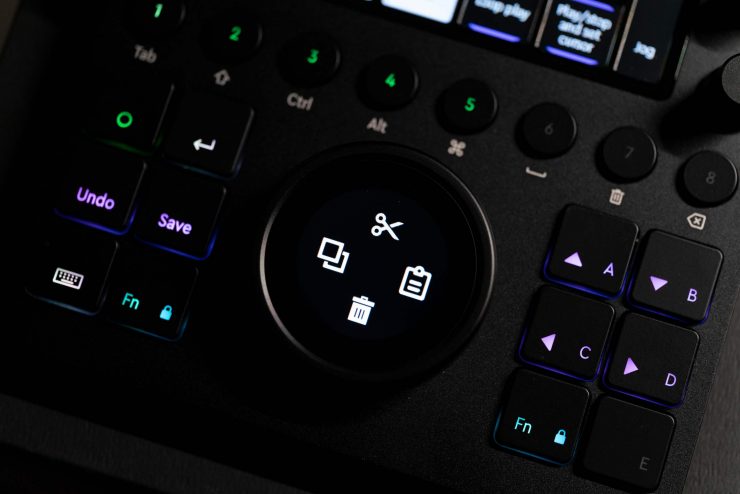
As much as I enjoy using the Loupedeck CT, I’m not crazy about the design of the main control wheel. A standard jog wheel for video or audio editing has a flat top with a divot for the fingertip, which allows the user to quickly spin the wheel several full rotations forward or backward if necessary. The Loupedeck, on the other hand, has only a narrow rim, essentially a bezel around the edge of the central touch-screen. This means that to use the wheel, you have to twist it from the edge, which is fine for small adjustments, but for larger ones, it’s inefficient.
That said, the ability to use the central touch screen to quickly change the function of the wheel is an excellent feature, so I’m glad that it’s there. Ideally, there would simply be a wider rim on the top of the wheel to allow it to also function like a standard jog wheel.
My only other complain about the design of the Loupedeck CT has nothing to do with whether it works or not, it’s just a matter of philosophy: the Loupedeck CT is a very complex device. It’s complex enough that, even after a couple months of use, I need to look down at the touch screen if I want to pick a new tool, or use most of the buttons. Having to look down at the device is generally slower than using similar keyboard shortcuts on my computer’s keyboard, which I can reach by touch and memory. Luckily, the Loupedeck’s knobs and wheel are easy to find by touch alone. Perhaps with a couple more months of use I’ll become familiar enough with the Loupedeck that I’ll be able to operate by touch alone. Time will tell.
Software
I found a few minor bugs in the current version of the Loupedeck software, but they’re not serious problems; they’ll certainly be updated and fixed soon. Over the time that I’ve been using the Loupedeck, the company has published at least three major updates to their software, and they seem very willing to add new features and fix bugs.
As I mentioned in the video, Adobe Camera RAW doesn’t work directly with the Loupedeck (without Photoshop open as a proxy), but that’s a problem with Adobe’s API, not a problem with Loupedeck’s software. Still, if you want to use Bridge and ACR the way that I do, it’s something to keep in mind.
Value
The Loupedeck CT costs about $550, which is not cheap, but it’s also not too expensive compared to professional video editing surfaces. The BlackMagic keyboard (which appears to be a normal computer keyboard with a jog wheel attached to the side) costs $1000, though their new Speed Editor only costs $295. Simpler editing interfaces like the Tourbox (reviewed recently) cost only $150.
So, you’ll need to ask yourself: are you going to use enough of the functionality of the Loupedeck CT that it will be worth spending the extra money? Or do you mind paying a little extra for the Loupedeck’s snazzy appearance?
Conclusion
The Loupedeck seems a little complex at first, and takes some time to set up for your particular workflow, but once it’s ready, the Loupedeck CT makes editing RAW photos a completely new experience… and an enjoyable one! I use it less in Photoshop, but it’s a huge help for video editing.
Ultimately, it would be hard for me to justify the price of the Loupedeck if I were doing any one of these things (RAW, Photoshop, video, audio, etc), but like many photographers these days, I have to wear many hats in my daily life, and the flexibility of the Loupedeck makes that easier.
I’d recommend the Loupedeck CT for anyone who needs to work with multiple editing programs for multiple purposes, and especially to those who can write off the cost as a business expense.
