This article presents the R200 ring flash from Godox, as well as several of its accessories.
Godox’s system is constantly expanding, with flashes ranging from the diminutive TT350 to larger strobes such as the AD400 and AD600. Positioned strategically in the middle of the range, the AD200 and AD200Pro are modular flashes that can adapt several types of heads on a single control unit.
One such “head”, newly released in 2022, is the R200 ring flash. In a market flooded with cheaper LED continuous-light ring lamps, the R200 stands out. It is a true “flash”, with a whopping 200Ws of power and 1300 Lux of brightness. Equipped with a continuous modeling light and supplied with a bracket to mount on a light stand or attach directly to a camera, the R200 also supports several accessories to further shape the light.
Let’s take a look at the features, capabilities and performances of the Godox R200!
Physical Description
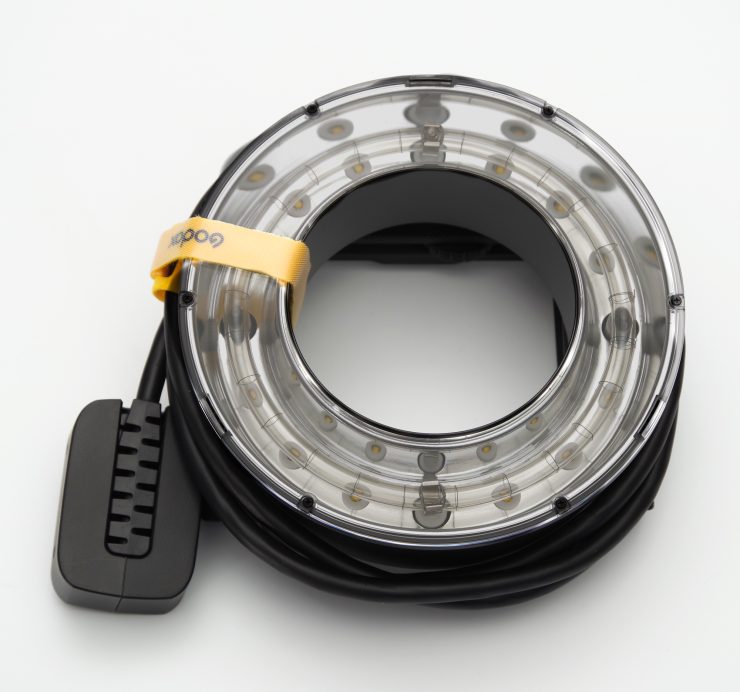
The R200 is a donut-shaped light source with a 188mm (7.4 inches) diameter. The light source is a single bulb running the whole circumference of the unit.
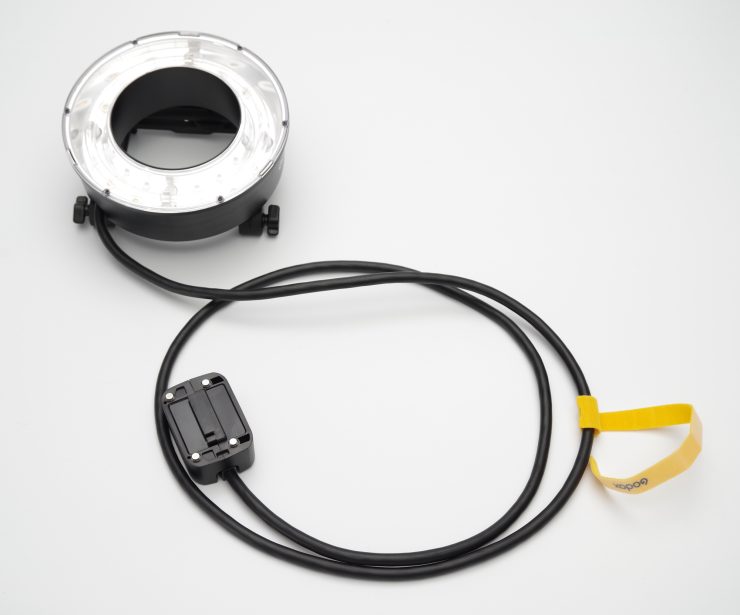
It connects to the AD200 or AD200Pro via a long cable and a mounting head which takes the place of the standard Fresnel or bare-bulb head on the controller.
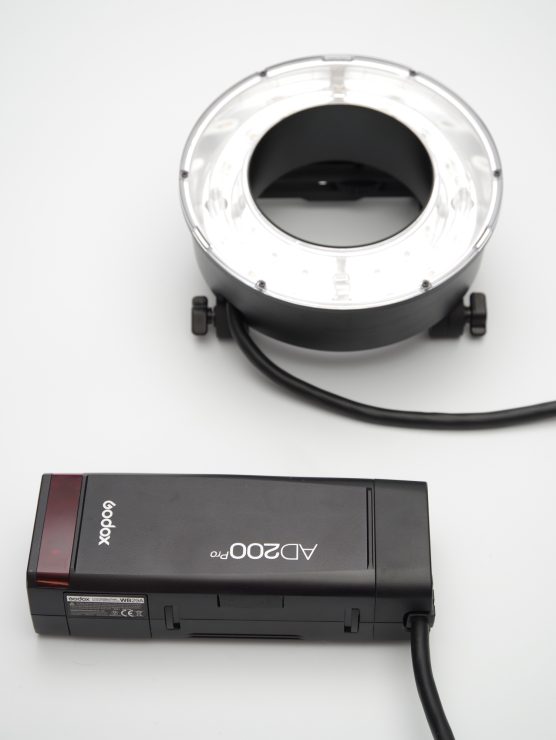
The AD200 can be triggered as an optical slave or via a Godox X trigger (X2T, XPro, etc), offering TTL metering with the R200.
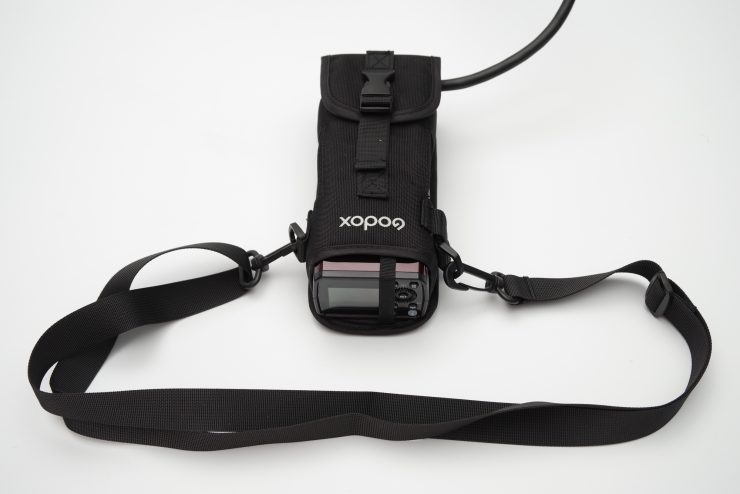
To make things less cumbersome, the R200 ships with a bag meant to hold the AD200 control unit. It has a shoulder strap so a photographer on the move can carry the system easily, or the bag can attach to a light stand. This works well, but highlights one key aspect of the R200: with the flash head itself, the long and thick cable, and the AD200 controller, the complete apparatus can be a bit cumbersome. It’s nothing that cannot be managed but it needs to be highlighted: using the R200 is not the same as using a standard speedlight, or even an AD200.
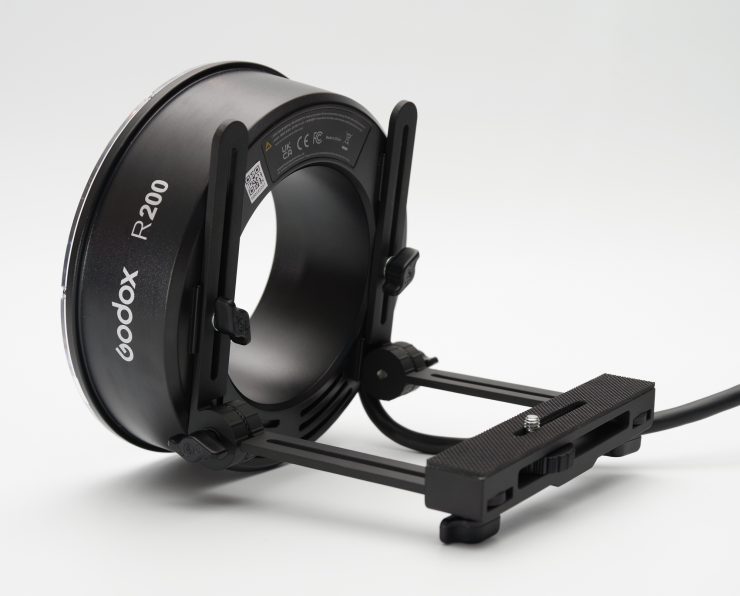
On the back of the R200 are mounting holes accepting a mounting bracket supplied with the unit. This bracket is actually a key element, and is needed to use the ring flash directly with a camera. Most users will probably leave it in place at all times. The bracket folds for transportation and storage, and features mounting holes and screws to attach to a camera’s tripod mount. The height and position of the camera can be adjusted for optimal results. Using this bracket, the lens shoots through the center of the ring.
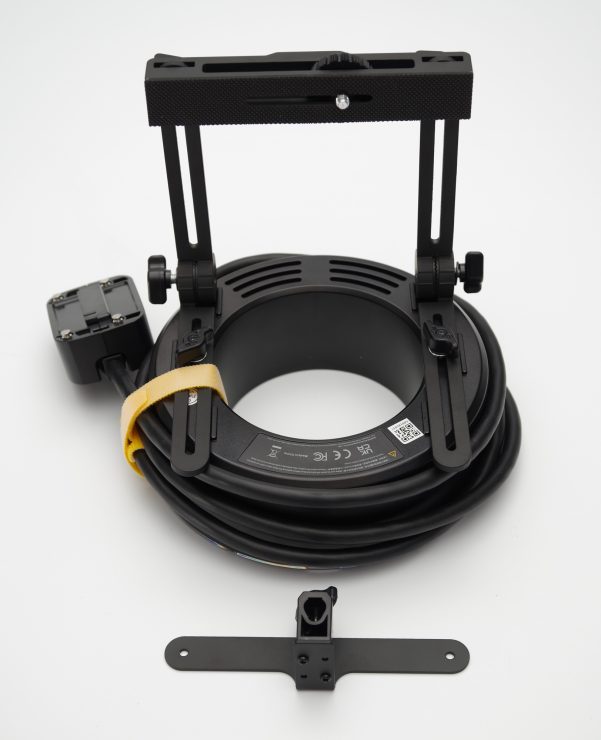
Another way to mount the R200 is to use the umbrella bracket instead of the camera bracket. The umbrella bracket attaches to the back of the R200, and can be used in tandem with the main bracket.
Accessories
Grids

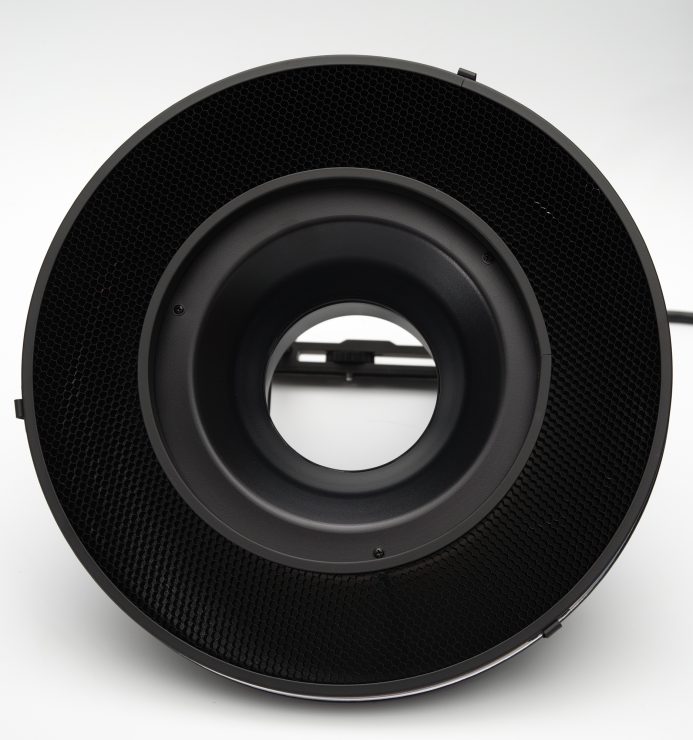
The R200 ring flash can directly accept grids. Godox offers 20, 30 and 40⁰ honeycomb grids (model numbers R200-HC20, HC30 and HC40, at a cost of about $30 each) to control light spill and directionality. Those attach via three metal tabs which clamp on the edges of the R200. The grids are well made, with a metal frame. However, grids are inherently fragile because honeycomb are thin, so some care must be taken when manipulating them.
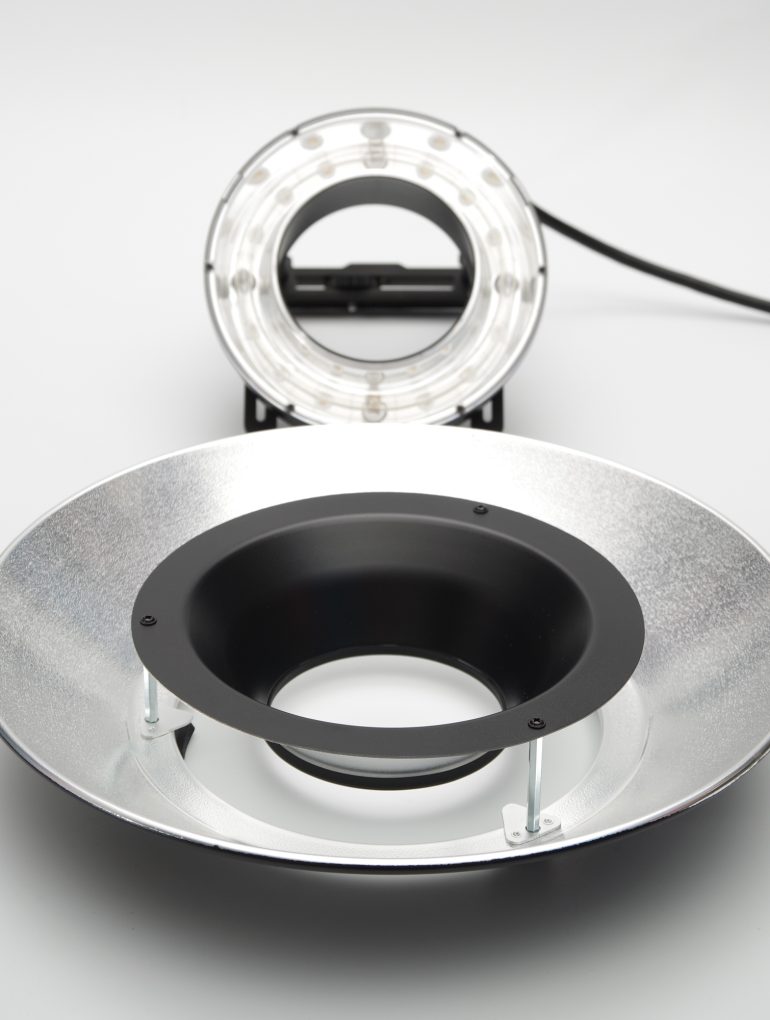
Silver Reflector
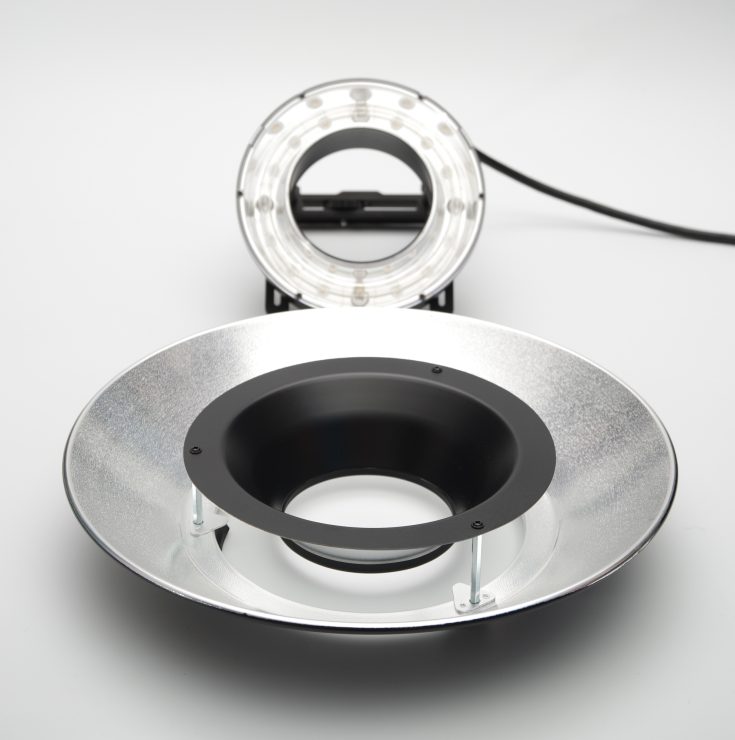
Godox also offers a large reflector (model RTF-25S) as an accessory. This reflector increases the effective size of the light while preserving its circular shape. It increases the diameter from the original 188mm to 356mm. The width of the effective source thus increases. This creates a smoother spill, while defining a bit better the edges of the illumination.
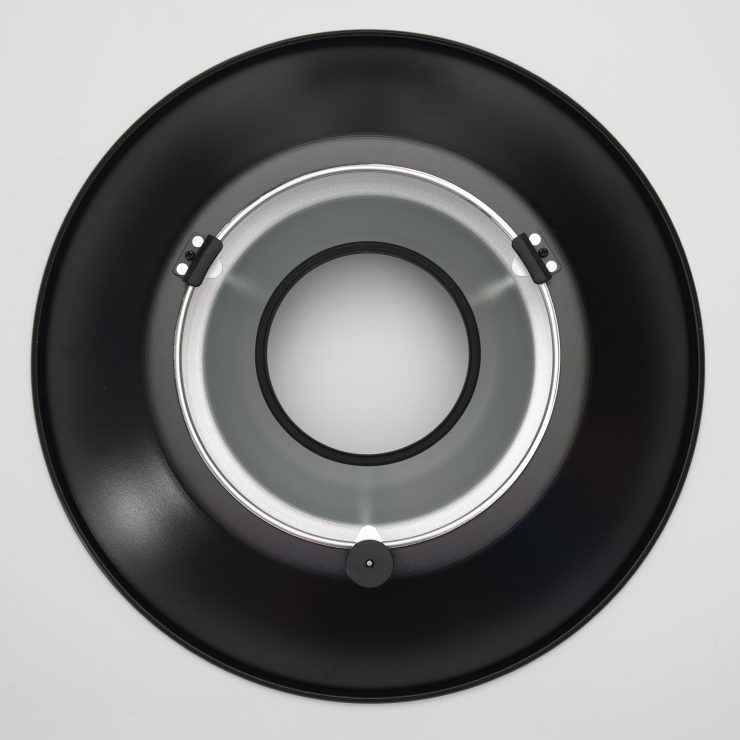
The silver reflector mounts via two tabs and one screw at the back. Once properly mounted, the fit is excellent, and the attachment stable. We have found that it’s easier to mount the R200 to the reflector instead of mounting the reflector to the R200 when it’s already on a light stand.
The silver reflector can also support honeycomb grids. The same 20, 30 and 40⁰ grids are offered (model numbers R200-RHC20, RHC30 and RHC40). They are similar to those meant for the R200 itself, but are of course bigger.
Carrying Case
The R200 itself isn’t small, but not overly large either. Add in grids and the reflector, and the kit quickly becomes big and cumbersome to carry around. Thankfully, Godox sells the accessory case CB56 to carry everything.
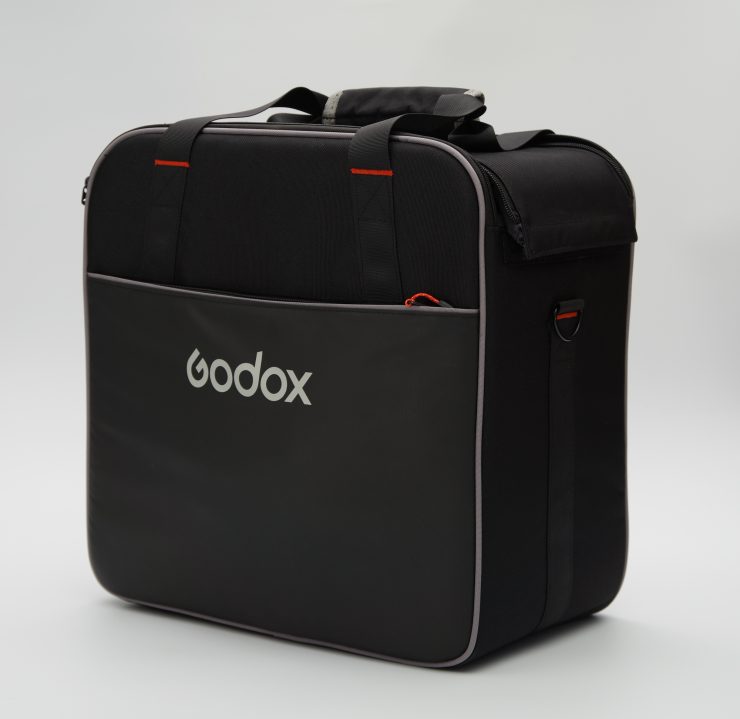
The case is robust and well made, with a rigid top flap opening wide to reach inside. The interior is divided in three sections. One is separated by simple fabric, and is ideal to carry a large honeycomb grid or the silver reflector. The other two sections are separated via a mobile padded panel. This panel can also be used to pad the first section. A smaller accessory case is included with the main bag, and an external pocket completes the organisation. A shoulder strap is supplied.
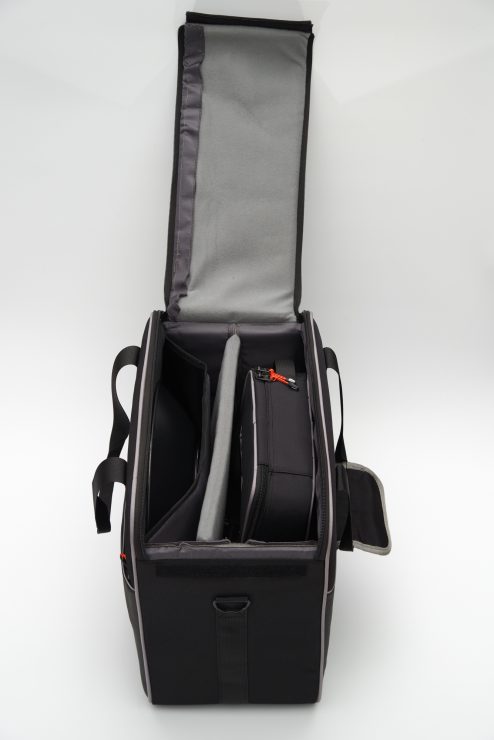
The carry case is most useful for someone using the silver reflector. It’s too large for just the R200. It can easily fit the R200 mounted on the reflector, plus the AD200, its support sleeve, honeycombs, spare batteries and a few extra accessories. It is capacious without going overboard. Anyone considering using the reflector should also consider the case.
Colored Gels
The Godox system also includes R200-CF colored gels, shaped to the correct size for use with the R200. This set of 24 colored gels (two each of 12 colors) is intended primarily for color correction to match ambient lighting, but it can also be used for creative effects.
In Use
Thanks to its TTL capabilities, the learning curve to use the R200 isn’t steep. Mounting it properly is the most challenging aspect. Just like any other flash, it can be used manually, but TTL works impressively well even for macro work. Learning how to shape the light and use the flash to its best capabilities is of course another matter, but this is true of any new type of illumination.
The R200 can easily be used with an umbrella (not as easily with a softbox because of the larger size), but there aren’t any advantages over simply using the AD200. The flash is not more powerful than the ones supplied with the AD200. With an umbrella, light spread is already massive, so the added advantage isn’t significant.
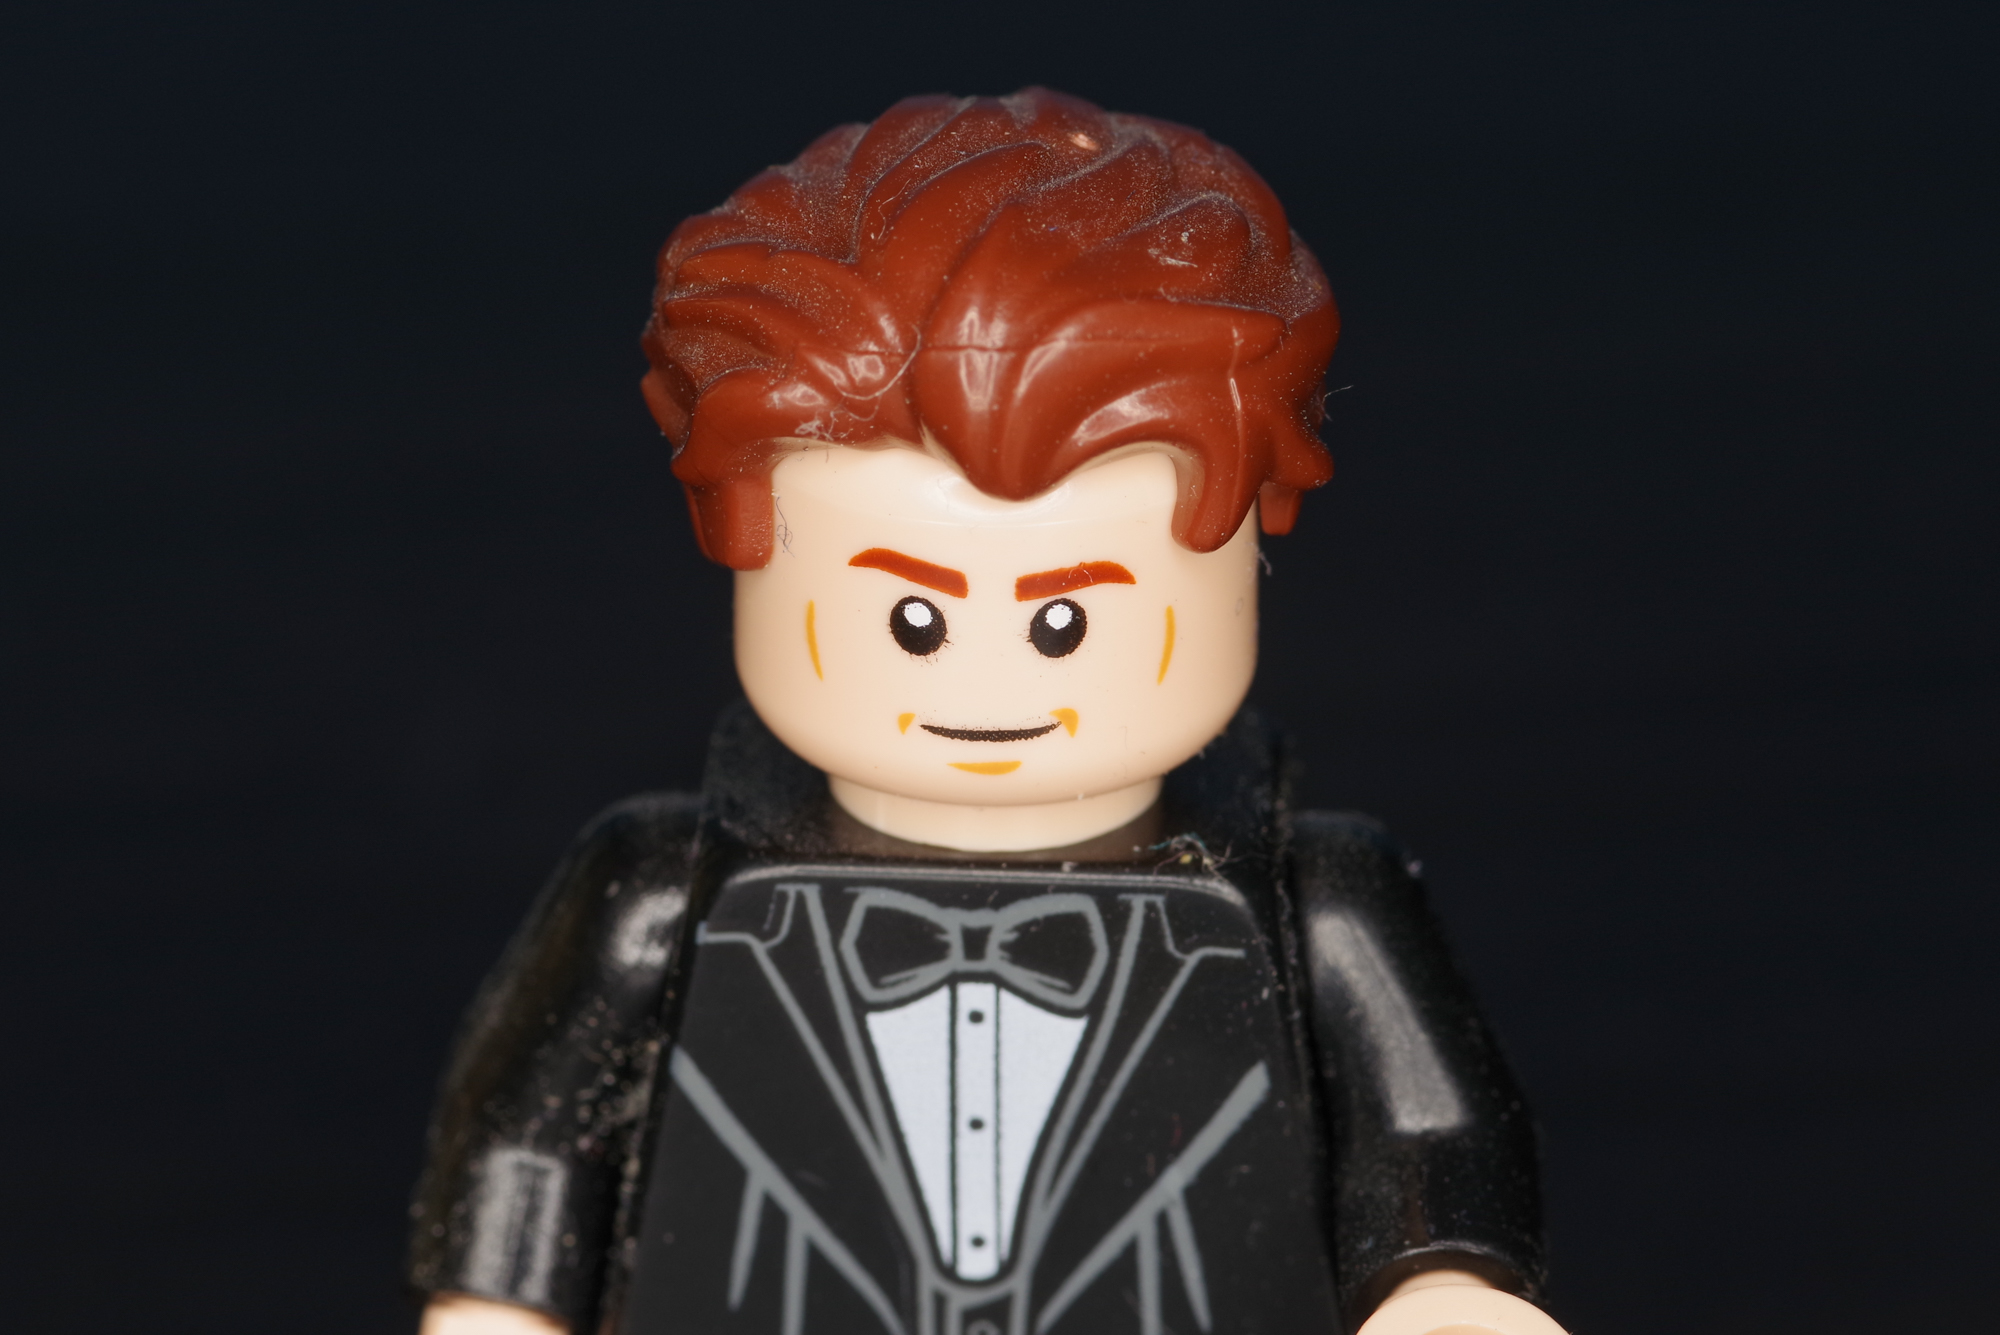
One of the best ways to use the R200 is for macro. Having direct, circular illumination and sufficient power to freeze movements is invaluable. A ring light provides even illumination, with more diffusion than a rectangular speedlight. Another aspect, often neglected, is that the camera (or photographer) can cast shadows over small subjects. A ring light solves this problem. Many inexpensive ring lights are made from an array of LEDs. These offer the ability to turn off one half-circle, something the R200 cannot do, but do not come close to offering the same level of power.

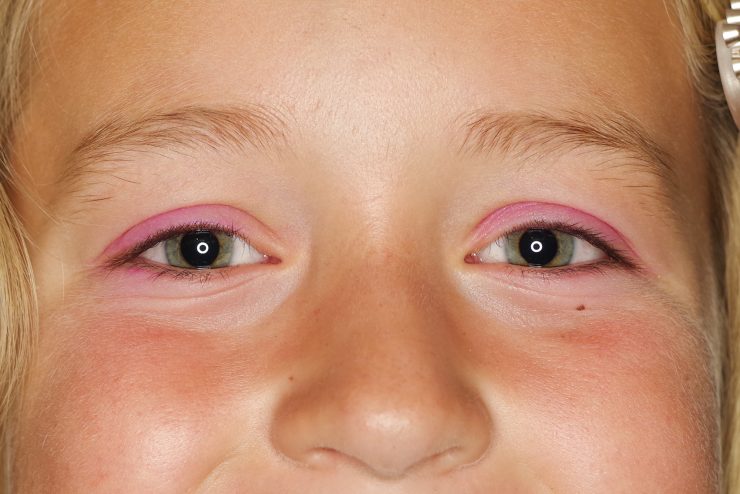
The other obvious use case for the R200 is as a portrait main light. The larger size of the R200, when compared to most other studio lights, let the photographer use it without modifiers while getting a nice spread. It provides direct but still even light, which can be beneficial for portraiture. The use of the silver reflector turns the R200 into a full-fledged beauty dish, and the several grids available provide a lot of options. Having a circular source also creates a nice circular catchlight in the subject’s eyes, as seen on the picture below.
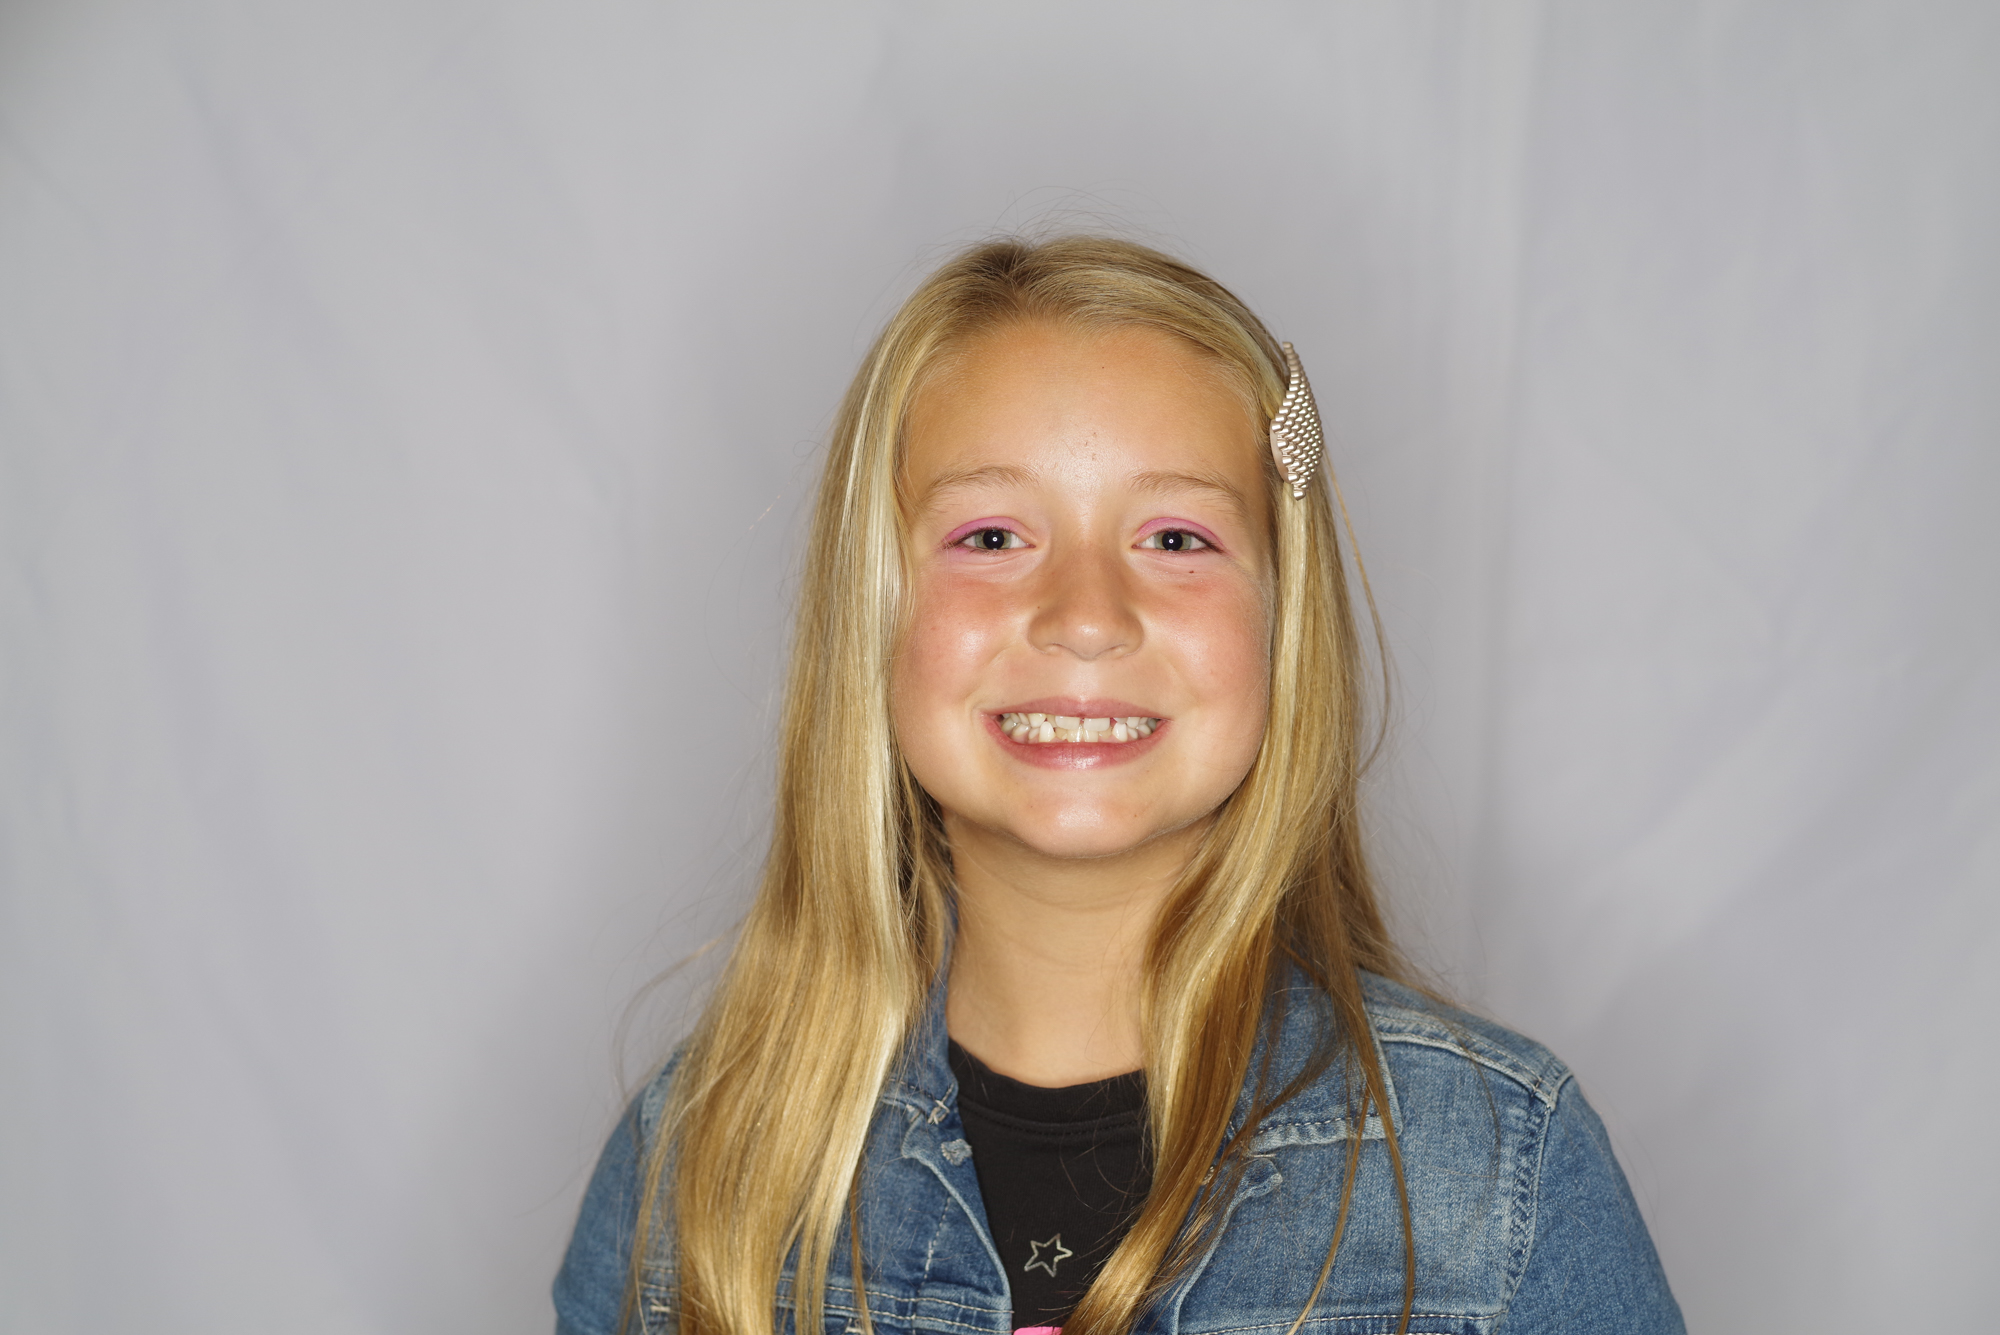
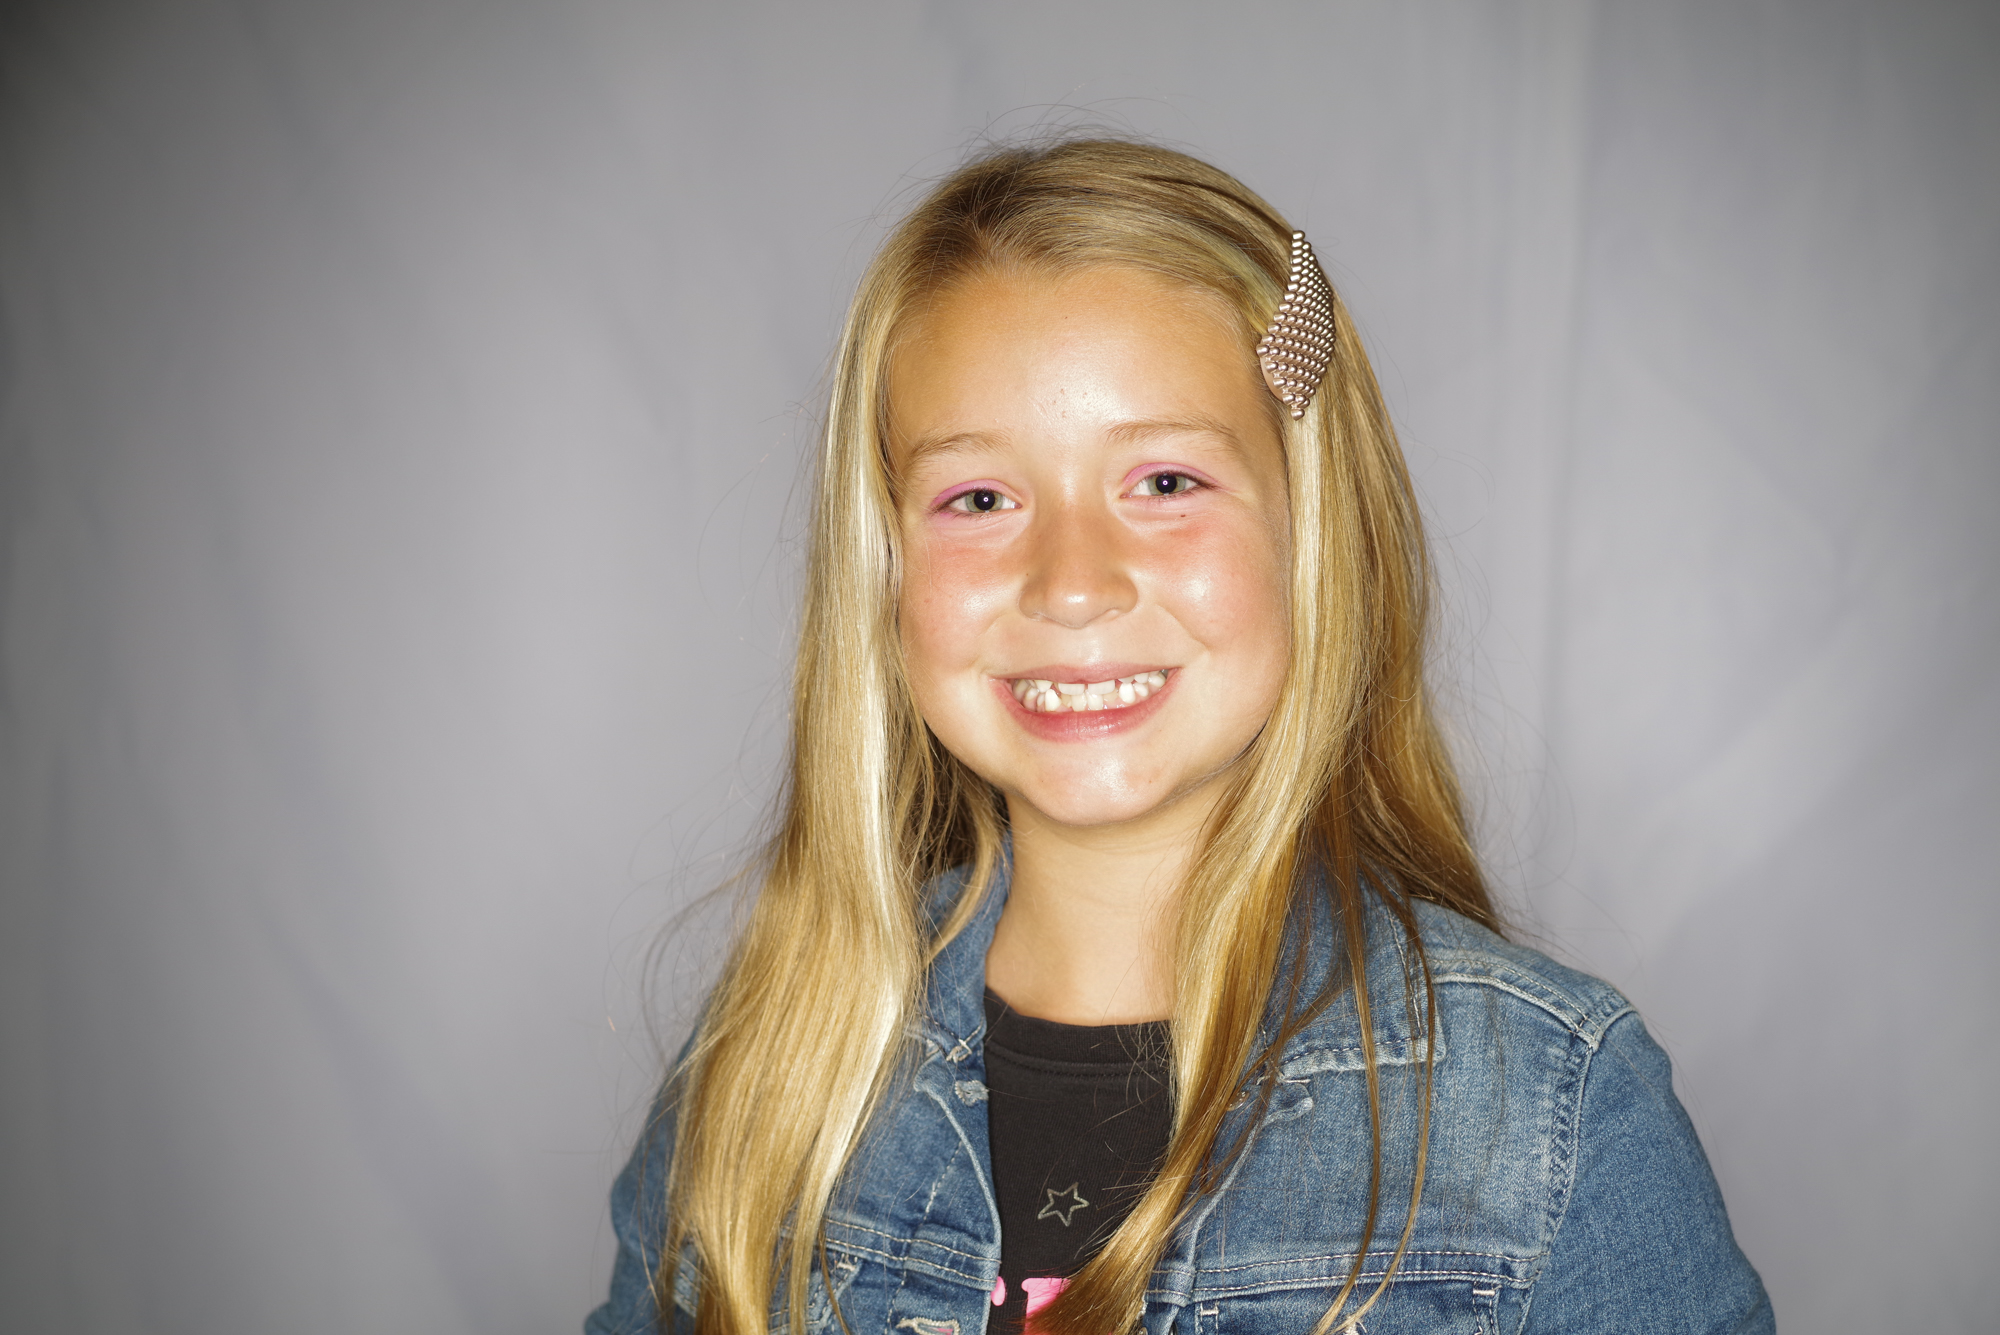
The following images show how the R200 illuminates a subject when used directly, with or without honeycomb grids. A smaller angle means less spread, and more direct illumination, while a larger angle allows a wider spread. We used a textured background to illustrate how the diffuser affects the shadows. The R200 unit was placed approximately 1.5 meters in front of the subject.
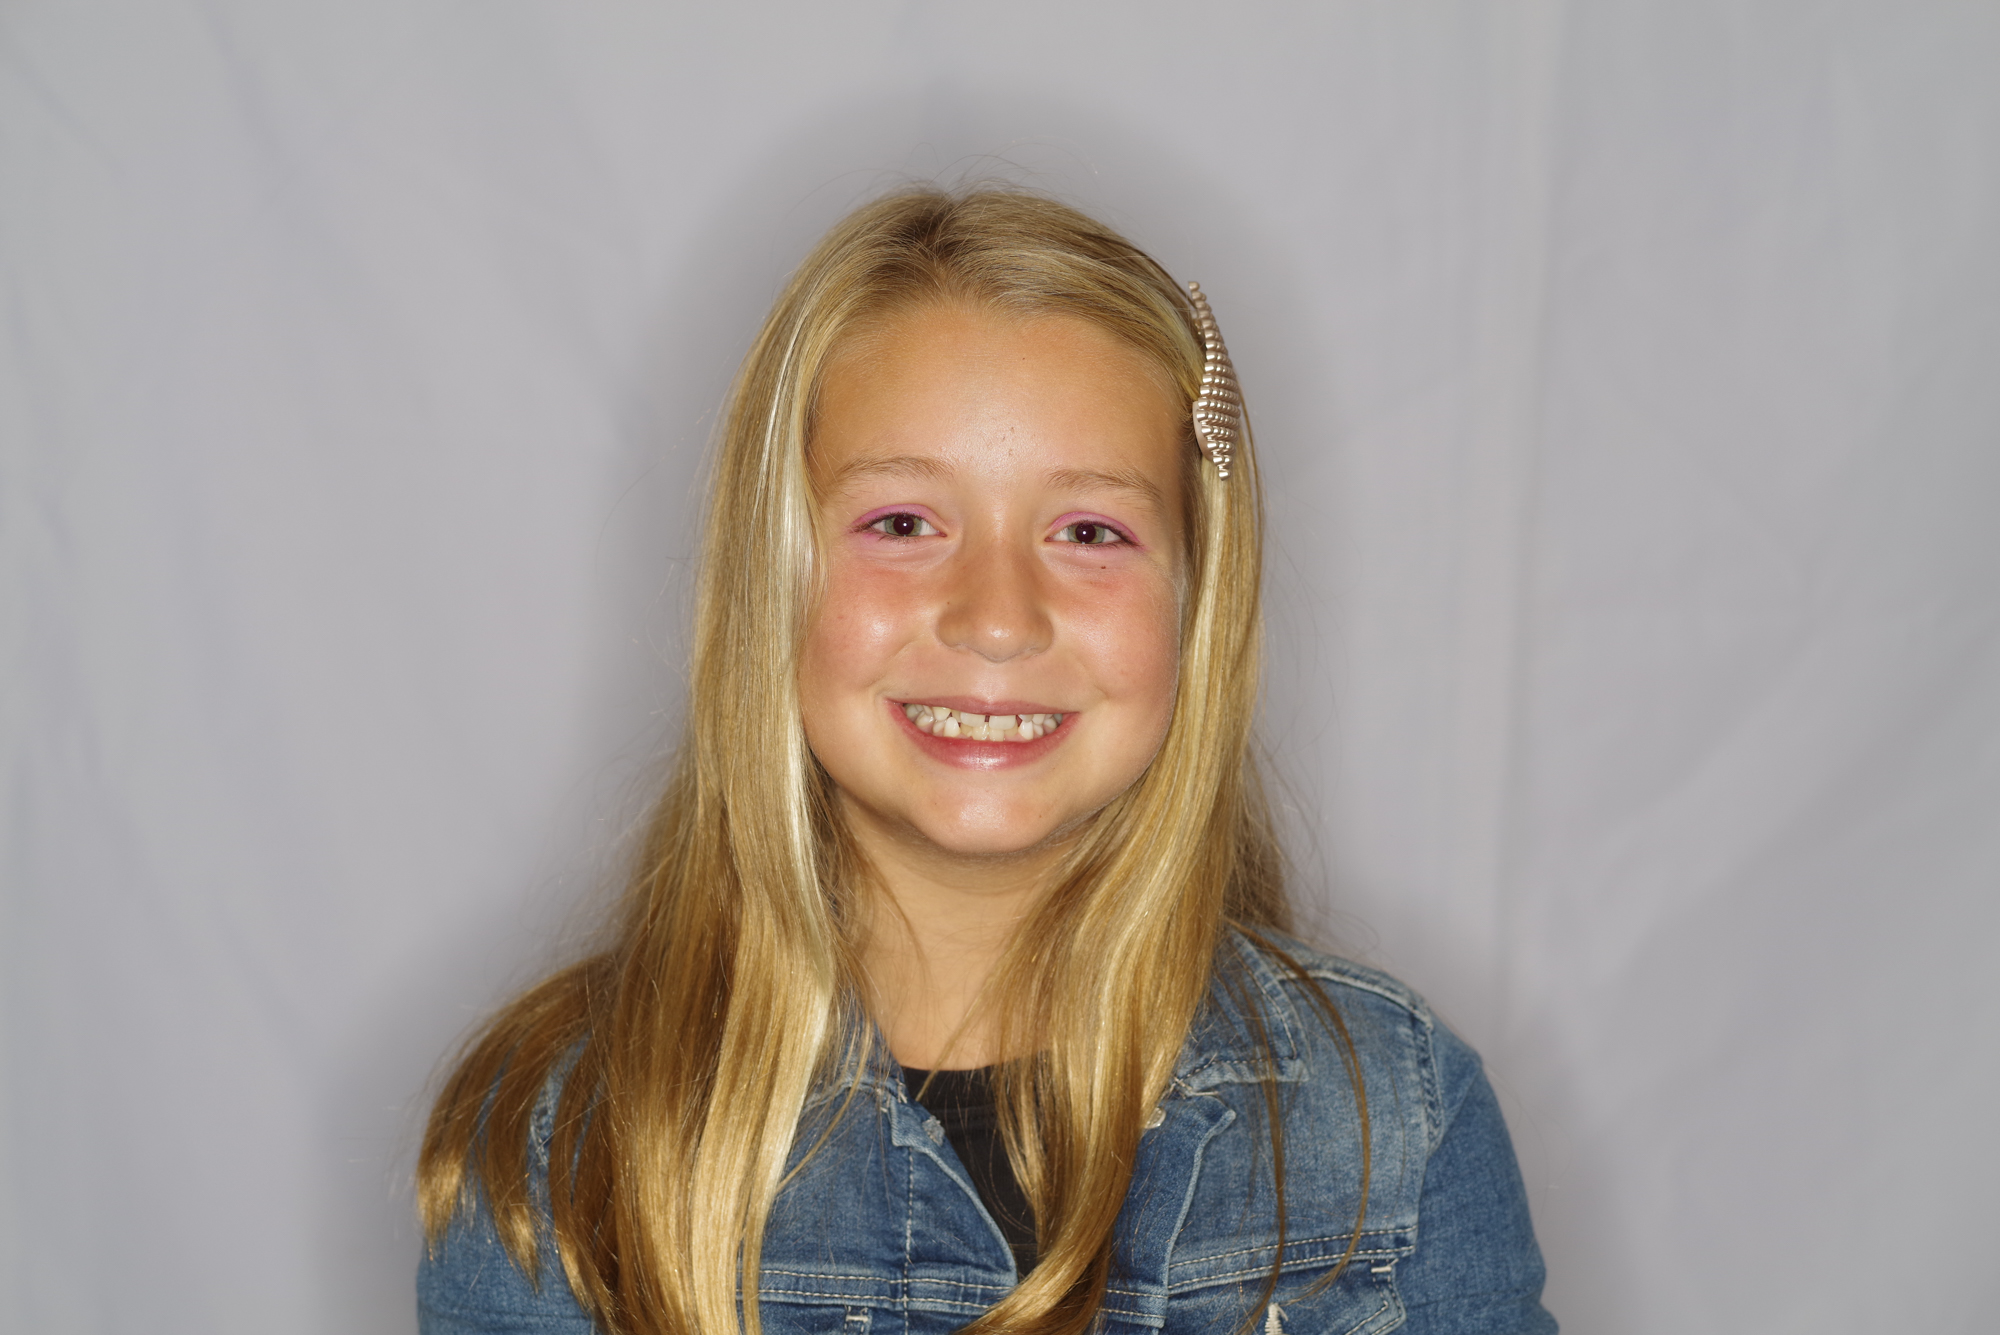


The R200 alone produces a nice light spread, even at a short distance. The shadow behind the subject is subtle and almost hard to spot. Adding grids with narrower angles progressively increases the contrast on the face, and makes the shadow more defined. Using grids also leads to some vignetting with the field of view that we used.
This next set shows results when using the silver reflector, again with or without grids, in the same conditions as before.


The main takeaway from using the silver reflector is that shadows behind the subject are gone, regardless of the grid used. The subject itself is lit mostly in the same manner as with the R200 alone, with a bit more pop thanks to the light wrapping around the subject more strongly.
These last images illustrate the results when the R200 is offset (to camera left in this case), with or without the silver reflector.


When using the R200 as a typical light source, offset from the camera, the difference between using the R200 alone and with the reflector becomes obvious. With only the R200, the result is not that different than what would obtain with a more traditional light source (see our AD200Pro review for a similar setup). The light is spread out a bit more, shadows are less dramatic, but it is still a moderately small source providing direct illumination. Using the reflector changes things dramatically. This is mainly due to the larger size of the light source. When compared with a softbox of almost the same size, the reflector removes shadows in the same way but also creates more contrast, and sharper features, on the face. This is because the light is more directional than with a softbox.
Other Options
Several options exist for photographers interested in ring lights. Few offer the exact same feature set, however. For comparisons purposes, the R200 unit costs $279, the AD200 is $299 and the AD200Pro is $349.
Godox makes the R72 continuous LED ring light, much less powerful and without TTL support, but also less expensive ($75). Many companies offer similar LED options. Godox’s AR400 is more powerful, self-contained (it does not require an AD200 or AD200Pro), but is fully manual and costs $499. OEM often offer their own options, like Canon’s MR-14EX II Macro Ring Lite Flash, a less powerful option that’s also less versatile. Its $549 price is comparable to that of an R200 with AD200. Nissin’s MF18 Macro Ring Flash costs $499.95, offers TTL (although it’s not brand-agnostic like the R200) but is less powerful and less expandable. Yongnuo makes an inexpensive option (about $130), the YN-14 EX II (mirroring Canon’s naming) if you’re just looking for ring flash for macro, but it is smaller, less powerful, and less flexible than the Godox.
Conclusion
With the R200, Godox proposes a product that’s uniquely positioned in the market, in part thanks to its compatibility with the AD200 and AD200Pro. Geared towards both macro and portrait photography, the R200 is versatile and expandable thanks to a long list of accessories. It is as powerful as a regular flash while offering different light shaping capabilities, it does not necessarily need modifiers to deliver pleasing results, but can nonetheless be turned into a beauty dish.
The learning curve to use it isn’t steep. The most challenging aspect is how to handle it. With the long cable connecting to the AD200, the need to handle the control unit, and the bracket to link with a camera, setting up the R200 takes a bit of time. It will be best to plan ahead when wishing to use it.
Users looking for a quick and dirty ring light solution will be better advised to look elsewhere. Users looking for a powerful, capable and versatile flash will be well served by the R200 ring light from Godox.
